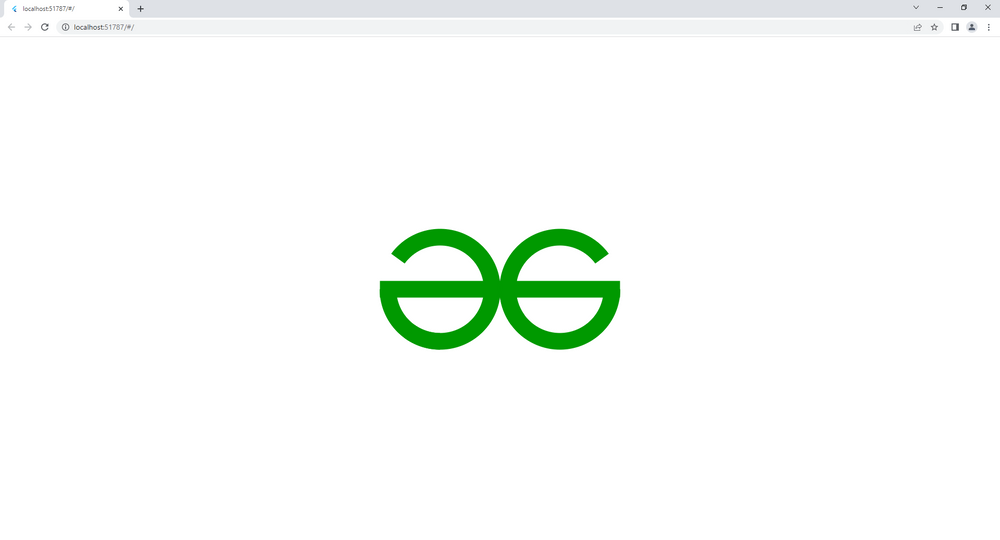
Flutter brinda a los desarrolladores la libertad total de usar cada píxel en la pantalla y dibujar formas personalizadas. Este ha sido uno de los puntos clave de venta de Flutter. Para lograr esto, usamos la clase CustomPainter. En este artículo, intentaremos crear el logotipo de GeeksforGeeks usando el widget CustomPaint de Flutter.
Implementación paso a paso
Siga los pasos a continuación para dibujar el logotipo de Geeksforgeeks usando el pintor personalizado en Flutter:
Paso 1: inicializa un nuevo proyecto de Flutter
Paso 2: reemplace el contenido del archivo main.dart con el siguiente código
Dart
import 'package:flutter/material.dart';
import 'dart:math' as math;

void main() {
  runApp(const MyApp());
}

// root of our application
class MyApp extends StatelessWidget {
  const MyApp({Key? key}) : super(key: key);

  @override
  Widget build(BuildContext context) {
    return MaterialApp(
      theme: ThemeData.dark().copyWith(
        // the background behind the
        // logo should be white
        scaffoldBackgroundColor: Colors.white,
      ),
      debugShowCheckedModeBanner: false,
      home: const Scaffold(
        body: Center(
          // the widget that will be
          // responsible for displaying the logo
          child: MyArc(),
        ),
      ),
    );
  }
}

class MyArc extends StatelessWidget {
  const MyArc({
    Key? key,
  }) : super(key: key);

  @override
  Widget build(BuildContext context) {
    // for responsive design
    return LayoutBuilder(
        builder: (BuildContext context, BoxConstraints constraints) {
      // mobile screen
      if (constraints.maxWidth < 1000) {
        return const Logo(
          // the diameter is 150 is the
          // screen is a mobile screen
          diameter: 150,
          isMobile: true,
        );
      }
      // desktop screen
      return const Logo(
        // the diameter is a bit larger than
        // the mobile screen's diameter
        diameter: 200,
        isMobile: false,
      );
    });
  }
}

class Logo extends StatelessWidget {
  const Logo({
    Key? key,
    required this.diameter,
    required this.isMobile,
  }) : super(key: key);

  // the diameter of the logo
  final double diameter;

  // isMobile is true if the
  // screen is a mobile screen
  final bool isMobile;

  @override
  Widget build(BuildContext context) {
    // using row widget to create the
    // two sides of the logo
    // and join them after painting
    return Row(
      mainAxisAlignment: MainAxisAlignment.center,
      children: [
        // also has properties foregroundPainter,
        // which paints after drawing its children
        // and child, which adds widgets below this
        // widget in the widget tree.
        // but we won't be needing these
        // properties here.
        CustomPaint(
          // the left side of the logo
          // the painter the paints
          // before its children are
          // drawn on the canvas
          painter: Left(isMobile),
          // providing the custom paint with the diameter
          size: Size(diameter, diameter),
        ),
        Padding(
          // add some padding between the two
          // sides of the GFG logo
          // such that the two Gs just touch
          // each other as in the original logo
          padding: EdgeInsets.only(left: isMobile ? 25.0 : 30.0),
          child: CustomPaint(
            // the right side of the logo
            painter: Right(isMobile),
            size: Size(diameter, diameter),
          ),
        ),
      ],
    );
  }
}

class Left extends CustomPainter {
  final bool isMobile;

  Left(this.isMobile);

  @override
  void paint(Canvas canvas, Size size) {
    Paint paint = Paint()
      ..color = const Color(0xFF009900)
      // the style of the paint
      // default fills the shape.
      // but we want a stroke
      ..style = PaintingStyle.stroke
      // the stroke width is a bit less in mobile screen
      ..strokeWidth = isMobile ? 28 : 32;
    // draw the horizontal line in the
    // left side of the logo
    // the x offset is in negative in order
    // to account for the thick stroke width
    // the y offset is set in the middle as in
    // the original logo
    // where the horizontal line run through
    // the middle of the two Gs
    canvas.drawLine(Offset(isMobile ? -13.6 : -15.5, size.height / 2),
        Offset(size.width, size.height / 2), paint);

    // the following two blocks draw
    // the circles in the left side of the logo
    canvas.drawArc(
      Rect.fromCenter(
        center: Offset(size.height / 2, size.width / 2),
        height: size.height,
        width: size.width,
      ),
      math.pi / 2,
      math.pi / 2,
      false,
      paint,
    );
    canvas.drawArc(
      Rect.fromCenter(
        center: Offset(size.height / 2, size.width / 2),
        height: size.height,
        width: size.width,
      ),
      -math.pi / 1.25,
      math.pi * 1.5,
      false,
      paint,
    );
  }

  // flutter calls this method
  // to check if repainting is needed
  @override
  bool shouldRepaint(CustomPainter oldDelegate) => false;
}

class Right extends CustomPainter {
  final bool isMobile;

  Right(this.isMobile);

  @override
  void paint(Canvas canvas, Size size) {
    Paint paint = Paint()
      ..color = const Color(0xFF009900)
      ..style = PaintingStyle.stroke
      ..strokeWidth = isMobile ? 28 : 32;

    // draw the horizontal line in
    // the right side of the logo
    canvas.drawLine(
        Offset(
            isMobile ? size.width + 13.6 : size.width + 15.5, size.height / 2),
        Offset(0, size.height / 2),
        paint);
    canvas.drawArc(
      Rect.fromCenter(
        center: Offset(size.height / 2, size.width / 2),
        height: size.height,
        width: size.width,
      ),
      math.pi / 1.25,
      math.pi,
      false,
      paint,
    );
    canvas.drawArc(
      Rect.fromCenter(
        center: Offset(size.height / 2, size.width / 2),
        height: size.height,
        width: size.width,
      ),
      0,
      math.pi,
      false,
      paint,
    );
  }

  @override
  bool shouldRepaint(CustomPainter oldDelegate) => false;
}
Paso 3: ahora, vuelva a cargar la aplicación para ver el logotipo de GeeksforGeeks
Salida: De esta manera, puede jugar con el Pintor personalizado para crear cualquier forma que desee.

Publicación traducida automáticamente
Artículo escrito por dangerahead y traducido por Barcelona Geeks. The original can be accessed here. Licence: CCBY-SA