En este artículo, vamos a ver cómo desarrollar una aplicación de reloj con Kivy usando Python.
Kivy es una biblioteca Python de fuente abierta de interfaz gráfica de usuario que le permite desarrollar aplicaciones multiplataforma en Windows, macOS, Android, iOS, Linux y Raspberry-Pi. Además de las entradas habituales del mouse y el teclado, también admite eventos multitáctiles.
Usaremos el módulo de tiempo para obtener la hora actual y actualizarla cada segundo. Además, también mostraremos dos horas de diferentes zonas horarias.
Funciones utilizadas
- asctime(): Por defecto obtiene la hora local. También puede pasar la zona horaria para obtener la hora de otra zona como se hizo en el Ejemplo 2.
- BoxLayout(): Se utiliza para organizar diseños en cajas verticales u horizontales.
- schedule_interval(): se utiliza para crear intervalos de tiempo y recuerda la función/evento.
- add_widget(): Agrega un widget a la pantalla.
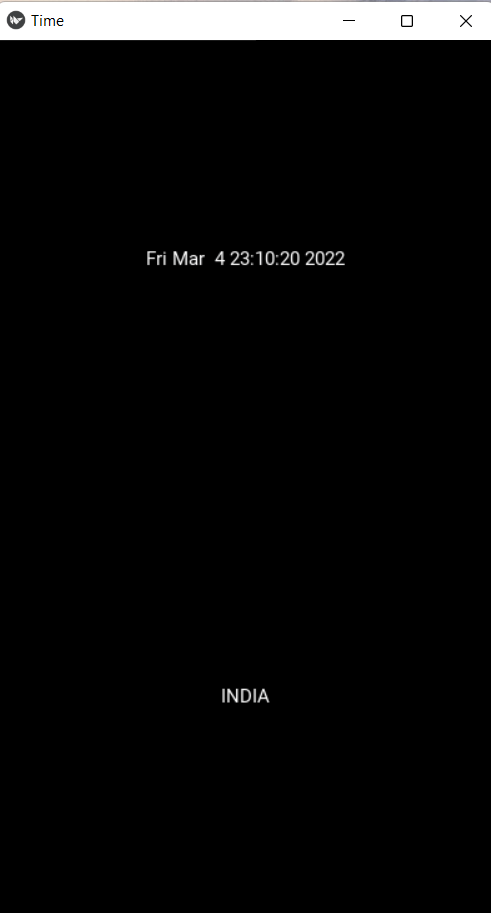
Ejemplo 1: aplicación de hora local usando kivy
Python3
# importing modules

# it will allow us to get time
import time

# The App class is the base for
# creating Kivy applications
from kivy.app import App

# it will allow us to make interval calls
from kivy.clock import Clock

# Label widget will be used to render text
from kivymd.uix.label import Label

# we will be using this to resize app window
from kivy.core.window import Window

# it will allow us to create layouts
from kivy.uix.boxlayout import BoxLayout
# declaring window size
Window.size = (400, 700)

# clock class
class myclock(Label):
    def update(self, *args):

          # get the current local time
        self.text = time.asctime()

# App class
class TimeApp(App):

    def build(self):
        layout = BoxLayout(orientation='vertical')

        # it will create vertical layouts in app

        # calling clock class for time
        clock1 = myclock()

        # updates time with the interval of 1 sec
        Clock.schedule_interval(clock1.update, 1)

        # adding layout to the screen
        layout.add_widget(clock1)

        # adding text to screen
        layout.add_widget(Label(text='INDIA'))

        return layout

root = TimeApp()
root.run()  # running the app
Producción:
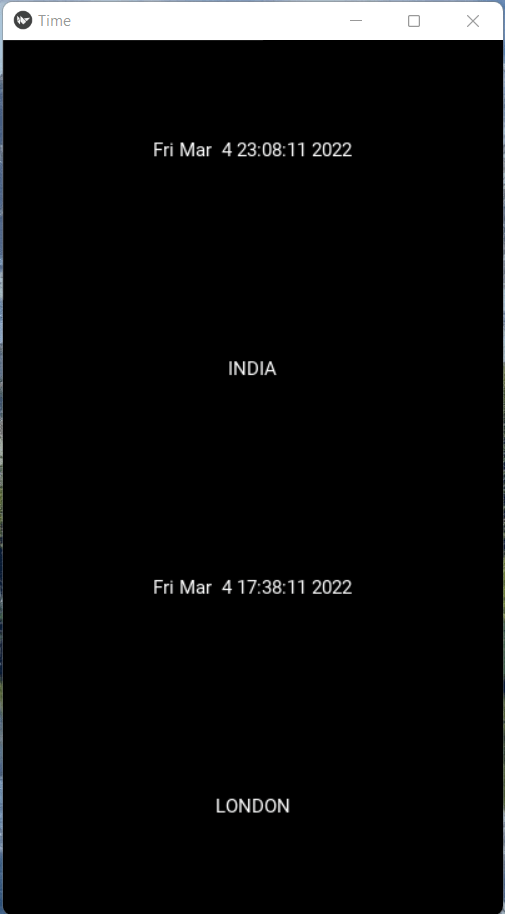
Ejemplo 2: agregar otra zona horaria en la aplicación de tiempo
Cree otra clase de reloj y agregue un diseño adicional para la clase de reloj 2 en la aplicación.
Python3
import time

from kivy.app import App
from kivy.clock import Clock
from kivymd.uix.label import Label
from kivy.core.window import Window
from kivy.uix.boxlayout import BoxLayout

Window.size = (400, 700)

class myclock(Label):
    def update(self, *args):
        self.text = time.asctime()

class myclock2(Label):
    def update(self, *args):
        t = time.gmtime()
        self.text = time.asctime(t)

class TimeApp(App):

    def build(self):
        layout = BoxLayout(orientation='vertical')

        clock1 = myclock()
        Clock.schedule_interval(clock1.update, 1)
        layout.add_widget(clock1)
        layout.add_widget(Label(text='INDIA'))

        clock2 = myclock2()
        Clock.schedule_interval(clock2.update, 1)
        layout.add_widget(clock2)
        layout.add_widget(Label(text='LONDON'))

        return layout

root = TimeApp()
root.run()
Producción:
Publicación traducida automáticamente
Artículo escrito por vinamrayadav y traducido por Barcelona Geeks. The original can be accessed here. Licence: CCBY-SA