En este artículo, aprenderemos cómo deshabilitar un botón en kivy, hay algunos lugares donde necesitamos deshabilitar los botones. Entonces, en este artículo, aprenderá cómo hacerlo.
El botón es una etiqueta con acciones asociadas que se activan cuando se presiona el botón (o se suelta después de un clic/toque). Podemos agregar funciones detrás del botón y diseñar el botón. Pero para deshabilitar el botón, tenemos un nombre de propiedad:
disabled that must be true
esta propiedad ayudará a deshabilitar el botón, es decir, el botón estará allí pero no sirve de nada ya que está deshabilitado, no funcionará ninguna funcionalidad del botón.
Nota: la propiedad deshabilitada se introdujo en la versión 1.8.0. Si desea usarlo, necesita actualizar su marco.
Enfoque básico a seguir al crear y deshabilitar el botón:
-> importar kivy
-> importar aplicación kivy
-> botón de importación
-> establecer la versión mínima (opcional)
-> Ampliar la clase
-> Agregar y devolver un botón
-> Agregar deshabilitado = verdadero para deshabilitar el botón
-> Ejecutar una instancia de la clase
En primer lugar, veamos cómo crear un botón que funcione completamente y luego veamos cómo deshabilitarlo y su funcionalidad.
Código #1: Cómo crear un botón completamente funcional
def build(self):
    # use a (r, g, b, a) tuple
    btn = Button(text ="Push Me !",
                 font_size ="20sp",
                 background_color =(1, 1, 1, 1),
                 color =(1, 1, 1, 1),
                 size =(32, 32),
                 size_hint =(.2, .2),
                 pos =(300, 250))

    return btn
Salida: 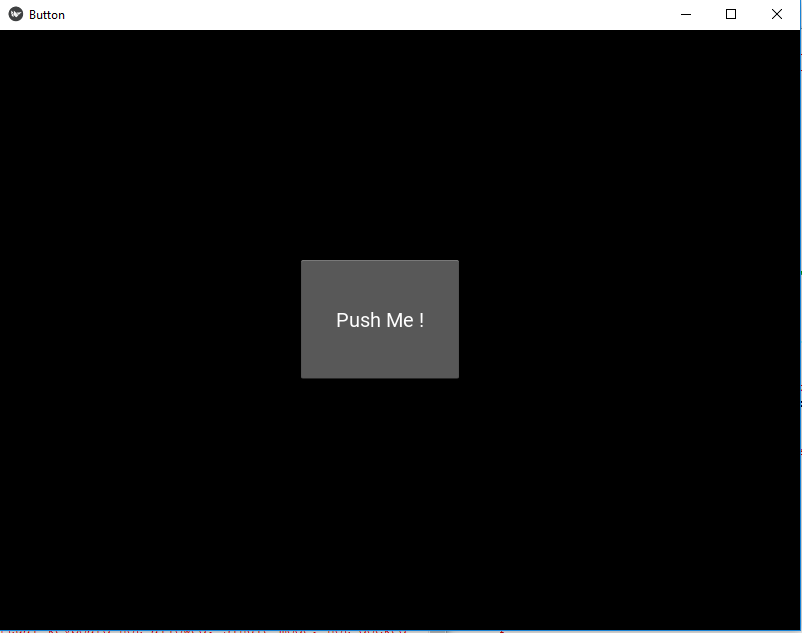
Código #2: Cómo deshabilitar el botón
def build(self):
        # use a (r, g, b, a) tuple
        btn = Button(text ="Push Me !",
                     font_size ="20sp",
                     background_color =(1, 4, 6, 1),
                     color =(1, 1, 1, 1),
                     size =(32, 32),
                     size_hint =(.2, .2),
                     pos =(300, 250),

                     # Disabling the button
                     disabled = True

                     )
Salida: 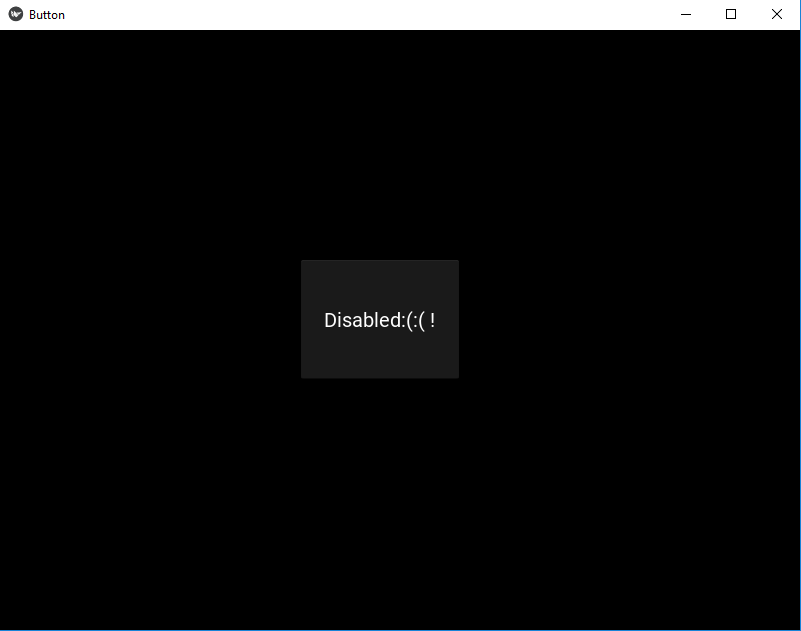
Código n.° 3: Deshabilitar y botón de trabajo juntos
# import kivy module
import kivy

# this restrict the kivy version i.e
# below this kivy version you cannot
# use the app or software
kivy.require("1.9.1")

# base Class of your App inherits from the App class.
# app:always refers to the instance of your application
from kivy.app import App

# creates the button in kivy
# if not imported shows the error
from kivy.uix.button import Button

# This layout allows you to set relative coordinates for children.
from kivy.uix.relativelayout import RelativeLayout

# class in which we are creating the button
class ButtonApp(App):

    def build(self):

        r1 = RelativeLayout()


        # working button
        btn1 = Button(text ="Push Me !",
                   font_size ="20sp",
                   background_color =(1, 1, 1, 1),
                   color =(1, 1, 1, 1),
                   size =(32, 32),
                   size_hint =(.2, .2),
                   pos =(200, 250))

        # disabled button
        btn2 = Button(text ="Disabled:(:( !",
                   font_size ="20sp",
                   background_color =(1, 1, 1, 1),
                   color =(1, 1, 1, 1),
                   size =(32, 32),
                   size_hint =(.2, .2),
                   pos =(500, 250),

                   # Add disabled property true to disabled button
                   disabled = True)

        r1.add_widget(btn1)
        r1.add_widget(btn2)

        # bind() use to bind the button to function callback
        btn1.bind(on_press = self.callback)
        return r1

    # callback function tells when button pressed
    def callback(self, event):
        print("button pressed")
        print('Yoooo !!!!!!!!!!!')


# creating the object root for ButtonApp() class
root = ButtonApp()

# run function runs the whole program
# i.e run() method which calls the target
# function passed to the constructor.
root.run()
Producción:
Publicación traducida automáticamente
Artículo escrito por YashKhandelwal8 y traducido por Barcelona Geeks. The original can be accessed here. Licence: CCBY-SA