En este artículo, exploraremos algunas formas de dibujar con el puntero del mouse en el lienzo de HTML 5. El lienzo HTML es esencialmente un contenedor para varios elementos gráficos como cuadrados, rectángulos, arcos, imágenes, etc. Nos brinda un control flexible sobre la animación de los elementos gráficos dentro del lienzo. Sin embargo, la funcionalidad del lienzo debe agregarse a través de JavaScript.
En el siguiente procedimiento, utilizaremos una variable indicadora para activar y desactivar el dibujo en relación con los eventos del mouse . Los eventos que escucharemos son los eventos mousedown , mouseup y mousemove en JavaScript.
El elemento de lienzo por defecto tiene algunas propiedades como relleno, etc. (se pueden cambiar los estilos). Por lo tanto, las propiedades offsetTop y offsetLeft se utilizan para recuperar la posición del lienzo, en relación con su offsetParent (el elemento antecesor más cercano del lienzo en el DOM). Al restar estos valores de event.clientX y event.clientY, podemos reposicionar el punto de inicio del dibujo en la punta del cursor . En la función sketch(), usamos los siguientes métodos incorporados para agregar funcionalidad.
- beginPath() : Inicia una nueva ruta, cada vez que se hace clic con el botón izquierdo del mouse.
- lineWidth : establece el ancho de la línea que se dibujará.
- strokeStyle : En este sentido, lo usamos para establecer el color de la línea en negro. Este atributo se puede cambiar para producir líneas de diferentes colores.
- moveTo() : la posición inicial de la ruta se mueve a las coordenadas especificadas en el lienzo.
- lineTo() : crea una línea desde dicha posición hasta las coordenadas especificadas.
- stroke() : Agrega un trazo a la línea creada. Sin esto, la línea no será visible.
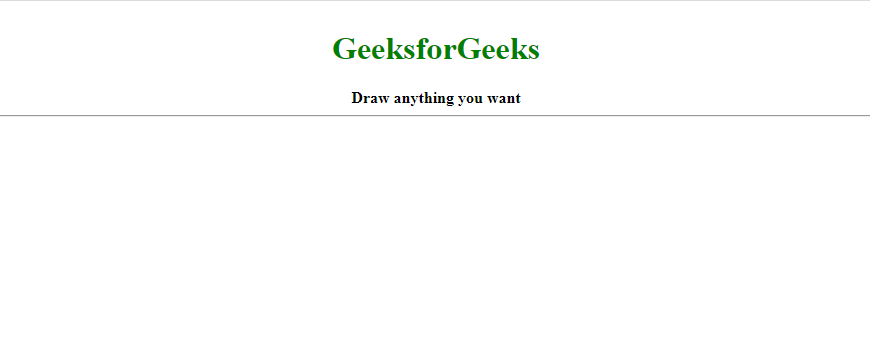
- Creación de un elemento de lienzo:
<!DOCTYPE html><htmllang="en"><head><metacharset="UTF-8"><metaname="viewport"content="width=device-width, initial-scale=1.0"><title>Draw with the mouse in a HTML5 canvas</title><style>* {overflow: hidden;}body {text-align: center;}h1 {color: green;}</style></head><body><h1>GeeksforGeeks</h1><b>Draw anything you want</b><hr><canvasid="canvas"></canvas><scriptsrc="index.js"></script></body></html> - Código JavaScript para hacer un lienzo interactivo:
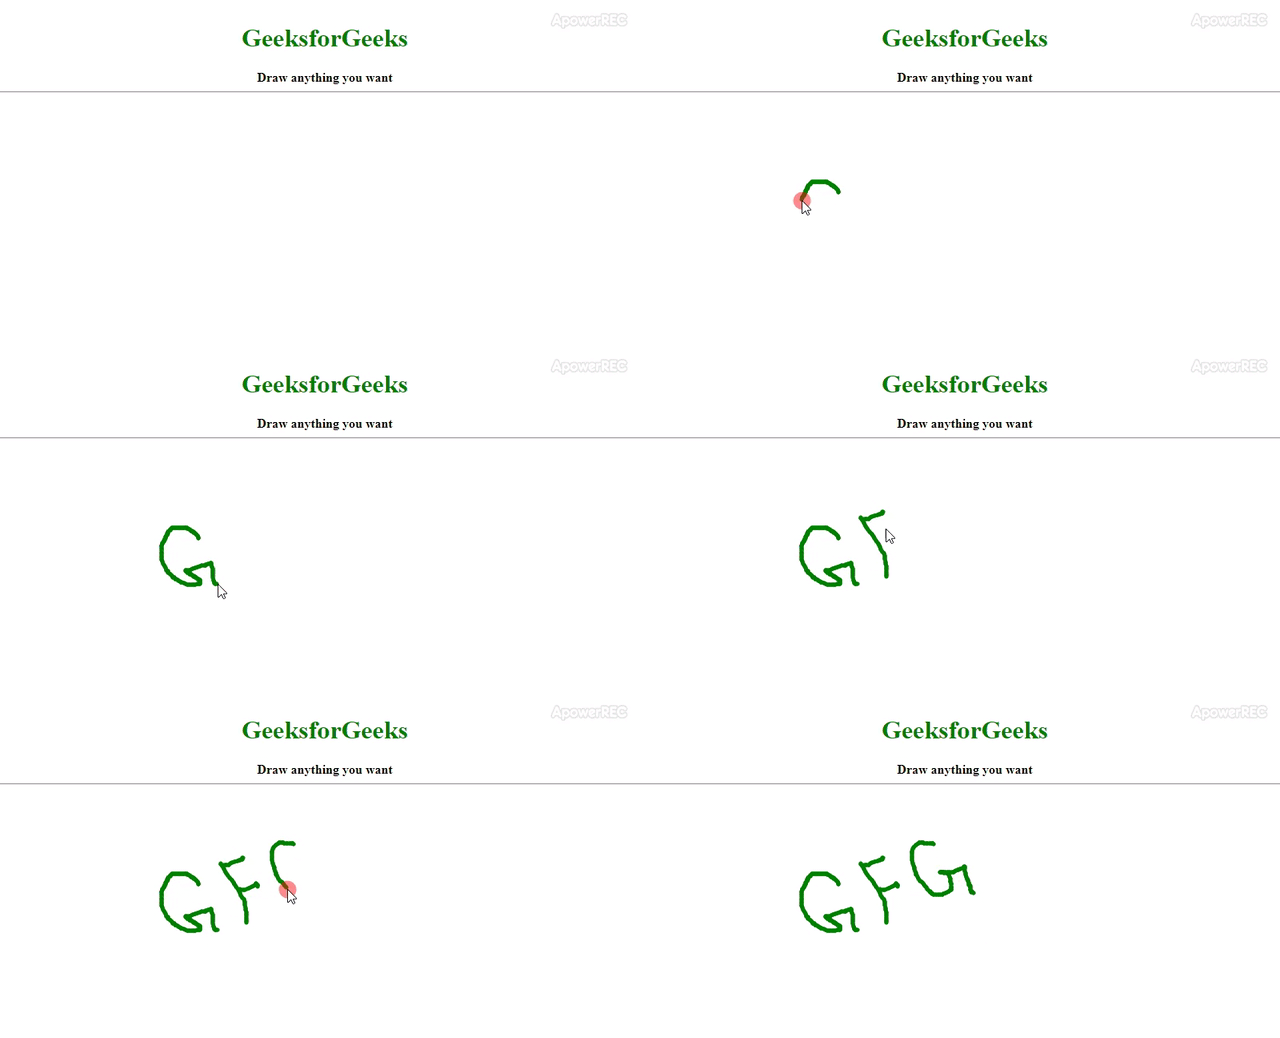
// wait for the content of the window element// to load, then performs the operations.// This is considered best practice.window.addEventListener('load',()=>{resize();// Resizes the canvas once the window loadsdocument.addEventListener('mousedown', startPainting);document.addEventListener('mouseup', stopPainting);document.addEventListener('mousemove', sketch);window.addEventListener('resize', resize);});const canvas = document.querySelector('#canvas');// Context for the canvas for 2 dimensional operationsconst ctx = canvas.getContext('2d');// Resizes the canvas to the available size of the window.functionresize(){ctx.canvas.width = window.innerWidth;ctx.canvas.height = window.innerHeight;}// Stores the initial position of the cursorlet coord = {x:0 , y:0};// This is the flag that we are going to use to// trigger drawinglet paint =false;// Updates the coordianates of the cursor when// an event e is triggered to the coordinates where// the said event is triggered.functiongetPosition(event){coord.x = event.clientX - canvas.offsetLeft;coord.y = event.clientY - canvas.offsetTop;}// The following functions toggle the flag to start// and stop drawingfunctionstartPainting(event){paint =true;getPosition(event);}functionstopPainting(){paint =false;}functionsketch(event){if(!paint)return;ctx.beginPath();ctx.lineWidth = 5;// Sets the end of the lines drawn// to a round shape.ctx.lineCap ='round';ctx.strokeStyle ='green';// The cursor to start drawing// moves to this coordinatectx.moveTo(coord.x, coord.y);// The position of the cursor// gets updated as we move the// mouse around.getPosition(event);// A line is traced from start// coordinate to this coordinatectx.lineTo(coord.x , coord.y);// Draws the line.ctx.stroke();} - Salida: la función sketch() solo se ejecutará si el valor de la bandera es verdadero . Es importante actualizar las coordenadas almacenadas en el objeto coord después de beginPath() , por lo tanto, se llama a getPosition(event) . Después de vincular el archivo JavaScript al archivo HTML, se obtendrá el siguiente código.

Publicación traducida automáticamente
Artículo escrito por tirtharajsengupta y traducido por Barcelona Geeks. The original can be accessed here. Licence: CCBY-SA