En este artículo, veremos cómo agregar un título a las subparcelas en Matplotlib. Analicemos algunos conceptos:
- Matplotlib: Matplotlib es una increíble biblioteca de visualización en Python para gráficos 2D de arrays. Matplotlib es una biblioteca de visualización de datos multiplataforma basada en arrays NumPy y diseñada para funcionar con la pila SciPy más amplia. Fue presentado por John Hunter en el año 2002.
- Subparcelas: la función subparcelas() en el módulo pyplot de la biblioteca matplotlib se usa para crear una figura y un conjunto de subparcelas. Las subparcelas son necesarias cuando queremos mostrar dos o más parcelas en la misma figura.
- Título de un gráfico: el método title() en el módulo matplotlib se usa para especificar el título de la visualización representada y muestra el título usando varios atributos.
Pasos necesarios
- Importar bibliotecas
- Crear/Cargar datos
- hacer subtrama
- trama secundaria
- Establezca el título de las subparcelas.
Ejemplo 1: (usando el método set_title())
Usamos el método matplotlib.axes._axes.Axes.set_title(label) para establecer el título (etiqueta de string) para los ejes de la subparcela actual.
Python3
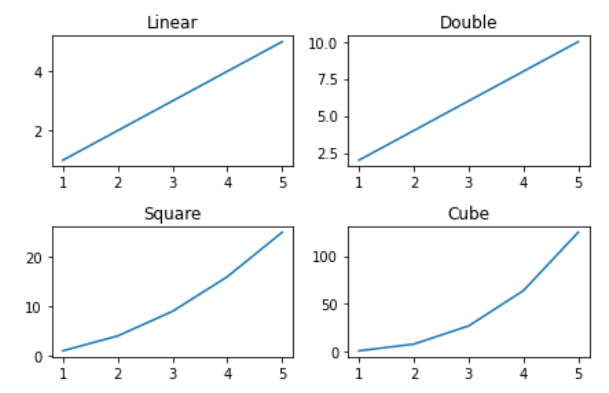
# importing packages
import numpy as np
import matplotlib.pyplot as plt

# create data
x=np.array([1, 2, 3, 4, 5])

# making subplots
fig, ax = plt.subplots(2, 2)

# set data with subplots and plot
ax[0, 0].plot(x, x)
ax[0, 1].plot(x, x*2)
ax[1, 0].plot(x, x*x)
ax[1, 1].plot(x, x*x*x)

# set the title to subplots
ax[0, 0].set_title("Linear")
ax[0, 1].set_title("Double")
ax[1, 0].set_title("Square")
ax[1, 1].set_title("Cube")

# set spacing
fig.tight_layout()
plt.show()
Producción:
Ejemplo 2: (usando el método title.set_text())
También podemos agregar títulos a las subparcelas en Matplotlib usando el método title.set_text(), de manera similar al método set_title().
Python3
# importing packages
import numpy as np
import matplotlib.pyplot as plt

# create data
x=np.array([1, 2, 3, 4, 5])

# making subplots
fig, ax = plt.subplots(2, 2)

# set data with subplots and plot
ax[0, 0].plot(x, x)
ax[0, 1].plot(x, x*2)
ax[1, 0].plot(x, x*x)
ax[1, 1].plot(x, x*x*x)

# set the title to subplots
ax[0, 0].title.set_text("Linear")
ax[0, 1].title.set_text("Double")
ax[1, 0].title.set_text("Square")
ax[1, 1].title.set_text("Cube")

# set spacing
fig.tight_layout()
plt.show()
Producción:
Ejemplo 3: (usando el método plt.gca().set_title())
Si usa un estilo similar a Matlab en el trazado interactivo, entonces podría usar plt.gca() para obtener la referencia de los ejes actuales de la subtrama y combinar el método set_title() para establecer el título de las subtramas en Matplotlib.
Python3
# importing packages
import numpy as np
import matplotlib.pyplot as plt

# create data
x=np.array([1, 2, 3, 4, 5])

# making subplots
fig, ax = plt.subplots(2, 2)

# set data with subplots and plot
title = ["Linear", "Double", "Square", "Cube"]
y = [x, x*2, x*x, x*x*x]

for i in range(4):

    # subplots
    plt.subplot(2, 2, i+1)

    # ploting (x,y)
    plt.plot(x, y[i])

    # set the title to subplots
    plt.gca().set_title(title[i])

# set spacing
fig.tight_layout()
plt.show()
Producción :
Ejemplo 4: (usando el método plt.gca().title.set_text())
Si usa un estilo similar a Matlab en el trazado interactivo, entonces podría usar plt.gca() para obtener la referencia de los ejes actuales de la subtrama y combinar el método title.set_text() para establecer el título de las subtramas en Matplotlib.
Python3
# importing packages
import numpy as np
import matplotlib.pyplot as plt

# create data
x=np.array([1, 2, 3, 4, 5])

# making subplots
fig, ax = plt.subplots(2, 2)

# set data with subplots and plot
title = ["Linear","Double","Square","Cube"]
y = [x, x*2, x*x, x*x*x]

for i in range(4):

    # subplots
    plt.subplot(2, 2, i+1)

    # ploting (x,y)
    plt.plot(x, y[i])

    # set the title to subplots
    plt.gca().title.set_text(title[i])

# set spacing
fig.tight_layout()
plt.show()
Producción :
Publicación traducida automáticamente
Artículo escrito por deepanshu_rustagi y traducido por Barcelona Geeks. The original can be accessed here. Licence: CCBY-SA