En Windows Forms, el control DateTimePicker se usa para seleccionar y mostrar la fecha/hora con un formato específico en su formulario. En el control DateTimePicker, puede establecer la ubicación de DateTimePicker en el formulario mediante la propiedad Ubicación. Esta propiedad le proporciona las coordenadas del control. Puede establecer esta propiedad de dos maneras diferentes:
1. Tiempo de diseño: es la forma más fácil de establecer la ubicación de DateTimePicker como se muestra en los siguientes pasos:
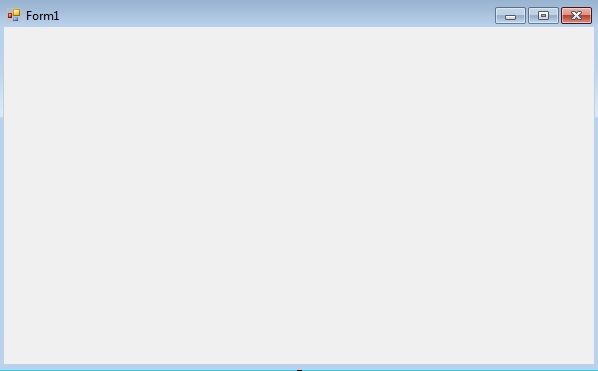
- Paso 1: cree un formulario de Windows como se muestra en la siguiente imagen:
Visual Studio -> Archivo -> Nuevo -> Proyecto -> WindowsFormApp
- Paso 2: A continuación, arrastre y suelte el control DateTimePicker desde la caja de herramientas hasta el formulario como se muestra en la siguiente imagen:

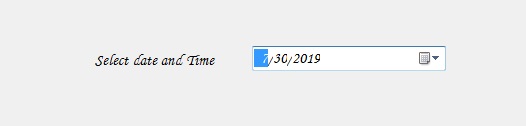
- Paso 3: Después de arrastrar y soltar, irá a las propiedades de DateTimePicker y establecerá la ubicación de DateTimePicker como se muestra en la siguiente imagen:

Producción:
2. Tiempo de ejecución: es un poco más complicado que el método anterior. En este método, puede establecer la ubicación del control DateTimePicker mediante programación con la ayuda de la sintaxis dada:
public System.Drawing.Point Location { get; set; }
Aquí, Point contiene las coordenadas del control DateTimePicker. Los siguientes pasos muestran cómo establecer la ubicación de DateTimePicker de forma dinámica:
- Paso 1: Crear un DateTimePicker usando el constructor DateTimePicker() proporcionado por la clase DateTimePicker.
// Creating a DateTimePicker
DateTimePicker dt = new DateTimePicker();
- Paso 2: después de crear DateTimePicker, establezca la propiedad Location de DateTimePicker proporcionada por la clase DateTimePicker.
// Setting the location
dt.Location = new Point(360, 162);
- Paso 3: Y por último agregue este control DateTimePicker al formulario usando la siguiente declaración:
// Adding this control to the form
this.Controls.Add(dt);
Ejemplo:
using System;
using System.Collections.Generic;
using System.ComponentModel;
using System.Data;
using System.Drawing;
using System.Linq;
using System.Text;
using System.Threading.Tasks;
using System.Windows.Forms;

namespace WindowsFormsApp48 {

public partial class Form1 : Form {

    public Form1()
    {
        InitializeComponent();
    }

    private void Form1_Load(object sender, EventArgs e)
    {
        // Creating and setting the
        // properties of the Label
        Label lab = new Label();
        lab.Location = new Point(183, 162);
        lab.Size = new Size(172, 20);
        lab.Text = "Select Date and Time";
        lab.Font = new Font("Comic Sans MS", 12);

        // Adding this control
        // to the form
        this.Controls.Add(lab);

        // Creating and setting the
        // properties of the DateTimePicker
        DateTimePicker dt = new DateTimePicker();
        dt.Location = new Point(360, 162);
        dt.Size = new Size(292, 26);
        dt.MaxDate = new DateTime(2500, 12, 20);
        dt.MinDate = new DateTime(1753, 1, 1);
        dt.Format = DateTimePickerFormat.Long;
        dt.Name = "MyPicker";
        dt.Font = new Font("Comic Sans MS", 12);
        dt.Visible = true;
        dt.Value = DateTime.Today;

        // Adding this control
        // to the form
        this.Controls.Add(dt);
    }
}
}
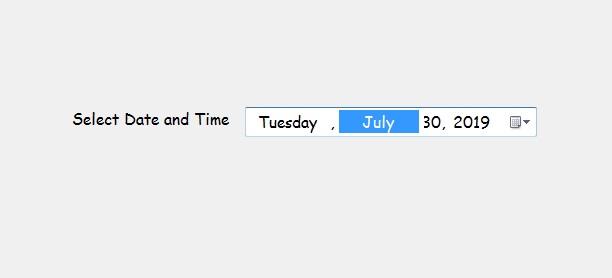
Producción:
Publicación traducida automáticamente
Artículo escrito por ankita_saini y traducido por Barcelona Geeks. The original can be accessed here. Licence: CCBY-SA