OpenCV es la enorme biblioteca de código abierto para visión por computadora, aprendizaje automático y procesamiento de imágenes y ahora juega un papel importante en la operación en tiempo real, lo cual es muy importante en los sistemas actuales. Al usarlo, uno puede procesar imágenes y videos para identificar objetos, rostros o incluso la escritura a mano de un ser humano.
Procesamiento de puntos en el dominio espacial
Todo el procesamiento realizado en los valores de píxel. Las operaciones de procesamiento de puntos toman la forma:
s = T ( r )
Aquí, T se denomina función de transformación de nivel de gris o una operación de procesamiento de puntos, s se refiere al valor de píxel de la imagen procesada y r se refiere al valor de píxel de la imagen original.
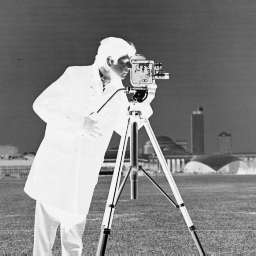
Imagen negativa:
s = (L-1) – r, where L= number of grey levels
Umbral:
s = L-1 for r > threshold
s = 0 for r < threshold
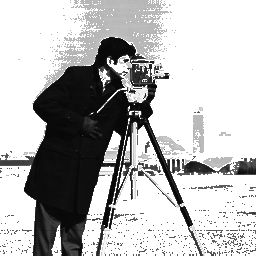
Corte de nivel de gris con fondo:
s = L-1 for a < r < b,
here a and b define some specific range of grey level
s = r otherwise.
A continuación se muestra la implementación.
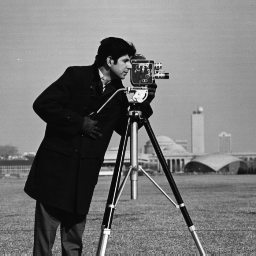
Imagen de entrada original:

import cv2
import numpy as np


# Image negative
img = cv2.imread('food.jpeg',0)

# To ascertain total numbers of
# rows and columns of the image,
# size of the image
m,n = img.shape

# To find the maximum grey level
# value in the image
L = img.max()

# Maximum grey level value  minus
# the original image gives the
# negative image
img_neg = L-img

# convert the np array img_neg to
# a png image
cv2.imwrite('Cameraman_Negative.png', img_neg)

# Thresholding without background
# Let threshold =T
# Let pixel value in the original be denoted by r
# Let pixel value in the new image be denoted by s
# If r<T, s= 0
# If r>T, s=255

T = 150

# create a array of zeros
img_thresh = np.zeros((m,n), dtype = int)

for i in range(m):

    for j in range(n):

        if img[i,j] <  T:
            img_thresh[i,j]= 0
        else:
            img_thresh[i,j] = 255


# Convert array to png image
cv2.imwrite('Cameraman_Thresh.png', img_thresh)

# the lower threshold value
T1 = 100

# the upper threshold value
T2 = 180

# create a array of zeros
img_thresh_back = np.zeros((m,n), dtype = int)

for i in range(m):

    for j in range(n):

        if T1 < img[i,j] < T2:
            img_thresh_back[i,j]= 255
        else:
            img_thresh_back[i,j] = img[i,j]

# Convert array to  png image
cv2.imwrite('Cameraman_Thresh_Back.png', img_thresh_back)
Salida: imagen negativa

Salida: Imagen con Umbral:

Salida: imagen con corte de nivel de gris con fondo
