Javascript es un lenguaje muy importante a la hora de aprender cómo funciona el navegador. A menudo, hay ocasiones en las que nos gustaría agregar elementos/contenido dinámicos a nuestras páginas web. Este post trata de todo eso.
Creación de un nuevo elemento: se pueden crear nuevos elementos en JS utilizando el método createElement() .
Sintaxis:
document.createElement("<tagName>");
// Where <tagName> can be any HTML
// tagName like div, ul, button, etc.

// newDiv element has been created
For Eg: let newDiv = document.createElement("div");
Una vez que se ha creado el elemento, pasemos a la configuración de atributos del elemento recién creado.
Configuración de los atributos del elemento creado: los atributos se pueden configurar utilizando el método setAttribute() .
La sintaxis y el ejemplo son los siguientes:
Element.setAttribute(name, value);
// Where Element is the name of web element.
// Here, we have created newDiv.
// Where name is the attribute name and
// value is the value that needs to be set

For Eg: newDiv.setAttribute("class","container");
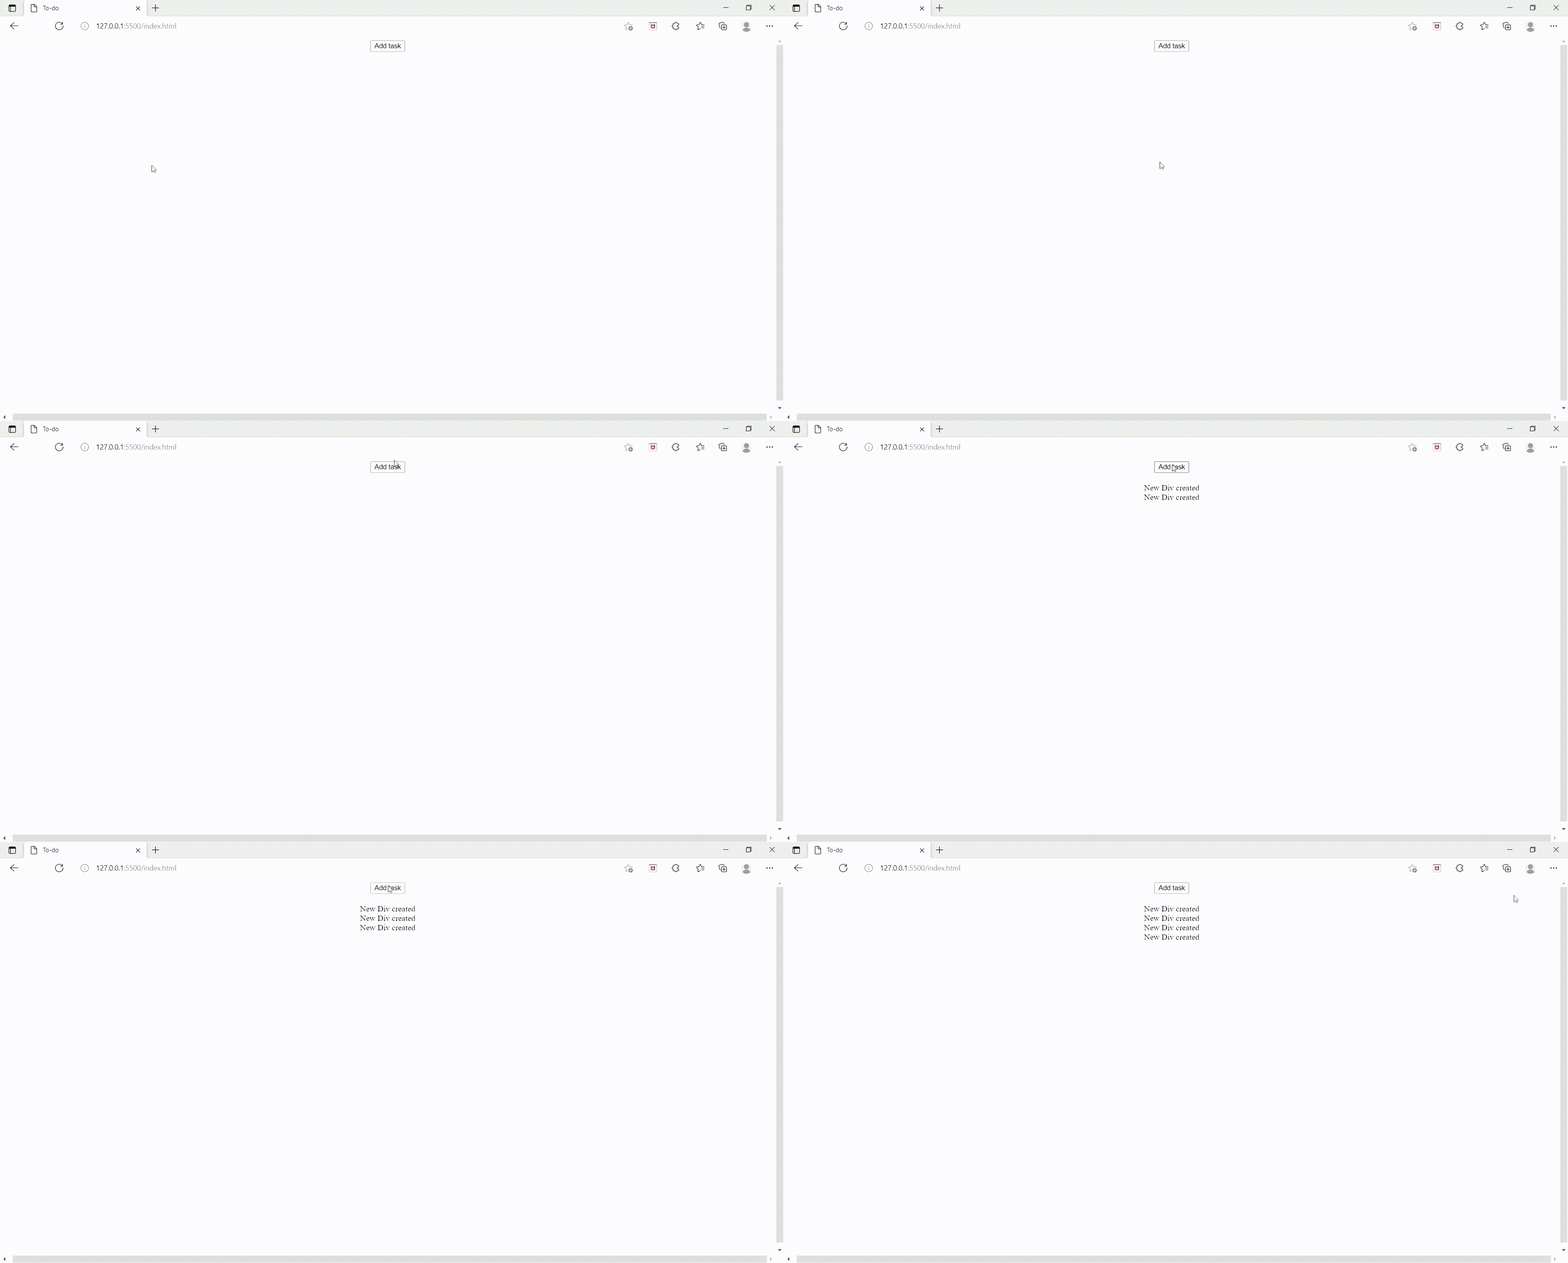
Ejemplo: los elementos se pueden crear en función de algún evento como un clic. Aquí hay un ejemplo de cómo crear elementos dinámicamente con un evento onclick. ¡Este código se puede convertir en una lista de tareas pendientes!
HTML
<!DOCTYPE html>
<html lang="en">

<head>
    <meta charset="UTF-8">
    <meta http-equiv="X-UA-Compatible" content="IE=edge">
    <meta name="viewport" content=
        "width=device-width, initial-scale=1.0">

    <style>
        html,
        body {
            height: 100%;
            width: 100%;
        }

        .button {
            display: flex;
            align-items: center;
            justify-content: center;
        }

        .tasks {
            display: flex;
            justify-content: center;
            align-items: center;
            flex-direction: column;
            margin-top: 20px;
        }
    </style>
</head>

<body>
    <div class="button">
        <button id="addTask">Add task</button>
    </div>
    <div class="tasks"></div>
    <script type="text/javascript">

        // Getting the parent element in which
        // the new div will be created
        let task = document.getElementsByClassName("tasks");

        // Getting the addTask button element
        let addTask = document.getElementById("addTask");

        // Adding onclick event to the button
        addTask.addEventListener('click', function () {

            // Traversing through collection of HTML
            // elements (tasks here)
            for (let i = 0; i < task.length; i++) {

                // New div element is created
                let newDiv = document.createElement("div");

                // Setting the attribute of class type to newDiv
                newDiv.setAttribute("class", "list");

                // innerText used to write the text in newDiv
                newDiv.innerText = "New Div created";

                // Finally append the newDiv to the
                // parent i.e. tasks
                task[i].append(newDiv);
            }
        })
    </script>
</body>

</html>
Producción:

Publicación traducida automáticamente
Artículo escrito por vismitaprabhu y traducido por Barcelona Geeks. The original can be accessed here. Licence: CCBY-SA