En los formularios de Windows, TextBox juega un papel importante. Con la ayuda de TextBox, el usuario puede ingresar datos en la aplicación, puede ser de una sola línea o de varias líneas. En TextBox, puede establecer las coordenadas de la esquina superior izquierda del control TextBox en relación con la esquina superior izquierda de su contenedor con la ayuda de la propiedad Location . En el formulario de Windows, puede establecer esta propiedad de dos maneras diferentes:
1. Tiempo de diseño: es la forma más sencilla de establecer la propiedad Ubicación del cuadro de texto, como se muestra en los siguientes pasos:
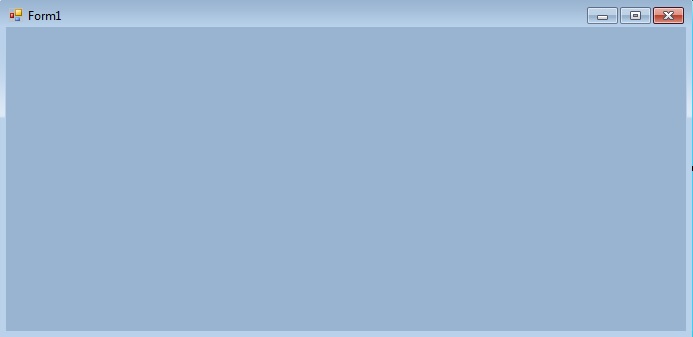
- Paso 1: cree un formulario de Windows como se muestra en la siguiente imagen:
Visual Studio -> Archivo -> Nuevo -> Proyecto -> WindowsFormApp
- Paso 2: arrastre el control TextBox desde ToolBox y suéltelo en el formulario de Windows. Puede colocar TextBox en cualquier lugar del formulario de Windows según sus necesidades. Como se muestra en la siguiente imagen:

- Paso 3: Después de arrastrar y soltar, irá a las propiedades del control TextBox para establecer la propiedad Ubicación del TextBox. Como se muestra en la siguiente imagen:

Producción:

2. Tiempo de ejecución: es un poco más complicado que el método anterior. En este método, puede establecer la propiedad Ubicación del cuadro de texto mediante programación con la ayuda de la sintaxis dada:
public System.Drawing.Point Location { get; set; }
Aquí, Point se usa para representar la esquina superior izquierda del control en relación con la esquina superior izquierda de su contenedor. Los siguientes pasos se utilizan para establecer la propiedad Ubicación del cuadro de texto:
- Paso 1: Cree un cuadro de texto utilizando el constructor TextBox() proporcionado por la clase TextBox.
// Creating textbox
TextBox Mytextbox = new TextBox();
- Paso 2: después de crear TextBox, establezca la propiedad Ubicación del TextBox proporcionada por la clase TextBox.
// Set Location property
Mytextbox1.Location = new Point(187, 51);
- Paso 3: Y por último agregue este control de cuadro de texto usando el método Add().
// Add this textbox to form
this.Controls.Add(Mytextbox1);
Ejemplo:
usingSystem;usingSystem.Collections.Generic;usingSystem.ComponentModel;usingSystem.Data;usingSystem.Drawing;usingSystem.Linq;usingSystem.Text;usingSystem.Threading.Tasks;usingSystem.Windows.Forms;namespacemy {publicpartialclassForm1 : Form {publicForm1(){InitializeComponent();}privatevoidForm1_Load(objectsender, EventArgs e){// Creating and setting the properties of Lable1Label Mylablel1 =newLabel();Mylablel1.Location =newPoint(96, 54);Mylablel1.Text ="Enter Name";Mylablel1.AutoSize =true;Mylablel1.BackColor = Color.LightGray;// Add this label to formthis.Controls.Add(Mylablel1);// Creating and setting the properties of TextBox1TextBox Mytextbox1 =newTextBox();Mytextbox1.Location =newPoint(187, 51);Mytextbox1.BackColor = Color.LightGray;Mytextbox1.AutoSize =true;Mytextbox1.Name ="text_box1";Mytextbox1.Margin =newPadding(5, 5, 5, 5);// Add this textbox to formthis.Controls.Add(Mytextbox1);// Creating and setting the properties of Lable1Label Mylablel2 =newLabel();Mylablel2.Location =newPoint(96, 102);Mylablel2.Text ="Enter Area";Mylablel2.AutoSize =true;Mylablel2.BackColor = Color.LightGray;// Add this label to formthis.Controls.Add(Mylablel2);// Creating and setting the properties of TextBox2TextBox Mytextbox2 =newTextBox();Mytextbox2.Location =newPoint(187, 99);Mytextbox2.BackColor = Color.LightGray;Mytextbox2.AutoSize =true;Mytextbox2.Name ="text_box2";// Add this textbox to formthis.Controls.Add(Mytextbox2);}}}Producción:

Publicación traducida automáticamente
Artículo escrito por ankita_saini y traducido por Barcelona Geeks. The original can be accessed here. Licence: CCBY-SA