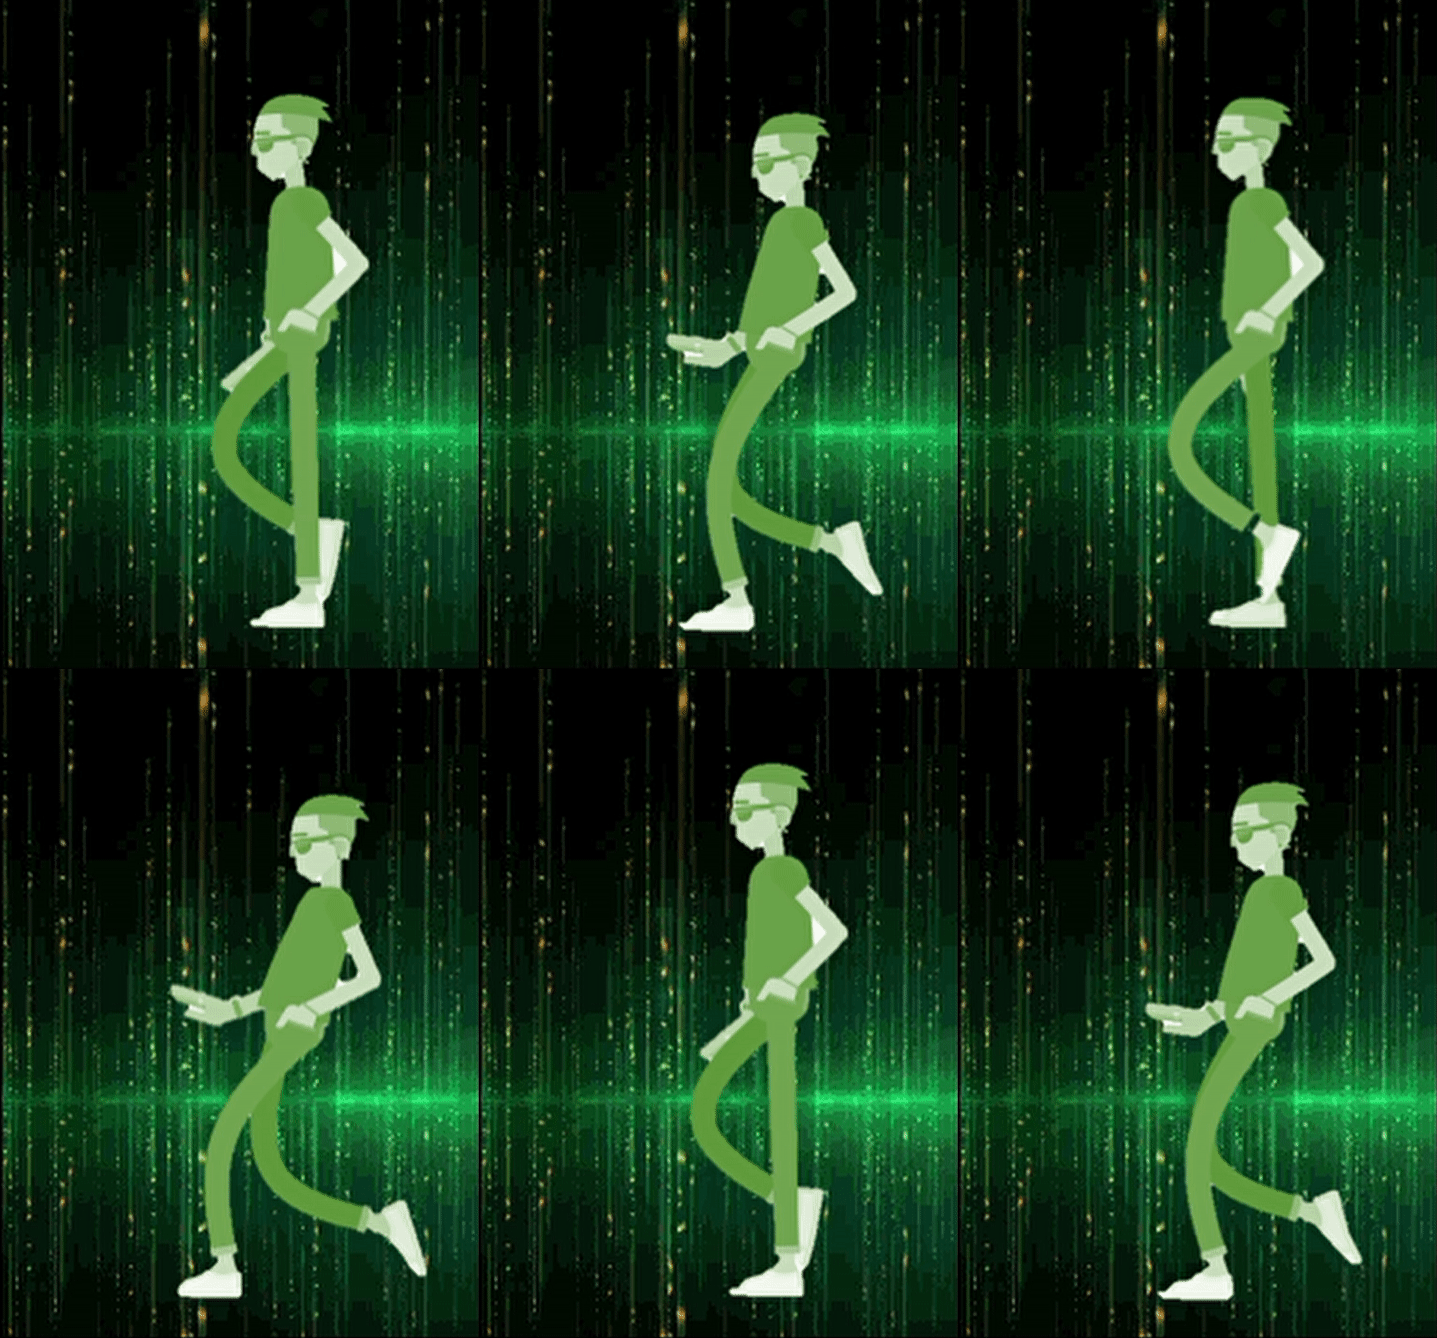
En este artículo, cubriremos cómo crear un personaje que camina usando múltiples imágenes de una hoja de sprites usando Pygame .
Cualquier video o película que se haga son en realidad marcos de fotografías o imágenes. Cuanto más marco de imágenes se tenga más será la suavidad de esa película o video. En sprite, podemos desarrollar cualquier video o juego con el uso de imágenes. Sprite en Pygame es la función que nos brinda para hacer videos o juegos emocionantes y creativos con el uso de imágenes. A muchos de nosotros nos gusta hacer nuestras fotos como un personaje en un juego. También se pueden usar sus imágenes como un personaje en el juego. Aquí, cubriremos cómo hacer un personaje y lo animaremos usando time.Clock(). Después de eso, implementaremos ese código para que se mueva manualmente usando las teclas derecha-izquierda.
Requisito del paquete
pip install pygame
Estructura de archivos
Para hacer que su código se ejecute, almacene amablemente sus archivos como en la estructura de archivos declarada a continuación.

Guarde el archivo de la misma manera que se describe arriba
Ejemplo 1: Mueve el personaje automáticamente
Mover el personaje en la ventana de sprite sin presionar ninguna tecla del teclado significa que el personaje se mueve automáticamente.
- Importe las bibliotecas requeridas a continuación.
- Da la dimensión de tu ventana de sprite e importa la colección de tus imágenes desde tu directorio.
- Declare una lista que pueda contener cada imagen en una lista.
- Proporcione el movimiento, la velocidad, la velocidad del reloj y el FPS a su personaje y estará listo para ir con su personaje.
Python3
import pygame as py
import os

# The width and height of our screen
win = py.display.set_mode((200, 280))
py.display.set_caption("Sprite pygame movement")

# Frames per second
FPS = 30

# The main class for our sprite window
class Sprite_Window(py.sprite.Sprite):
    def __init__(self):
        super(Sprite_Window, self).__init__()

        # Name of the folder in which all the
        # images are stored
        folderPath = "Character_images_left"

        # Storing the folder location in a list
        myList = os.listdir(folderPath)
        self.images = []
        for imPath in myList:

            # Appending all the images in the array
            self.images.append(py.image.load(f'{folderPath}/{imPath}'))

        self.index = 0
        self.image = self.images[self.index]
        self.rect = py.Rect(5, 5, 150, 198)

    def update(self):

        # Increase the value of the index by 1
        # so that we can change the sprite images
        self.index += 1

        if self.index >= len(self.images):
            self.index = 0
        self.image = self.images[self.index]


py.init()
my_sprite = Sprite_Window()
my_group = py.sprite.Group(my_sprite)
clock = py.time.Clock()

# q is here for a boolean value to cancel
# the running window
q = 1
while q:
    for event in py.event.get():
        if event.type == py.QUIT:
            q = 0
    my_group.update()

    # Background image
    bg = py.image.load('hacker.gif')

    win.blit(bg, (1, 1))
    my_group.draw(win)
    py.display.update()
    clock.tick(13)
Producción:

Salida para el andar automático de un personaje en sprite.
Ejemplo 2: Mueve el personaje manualmente con las teclas derecha e izquierda.
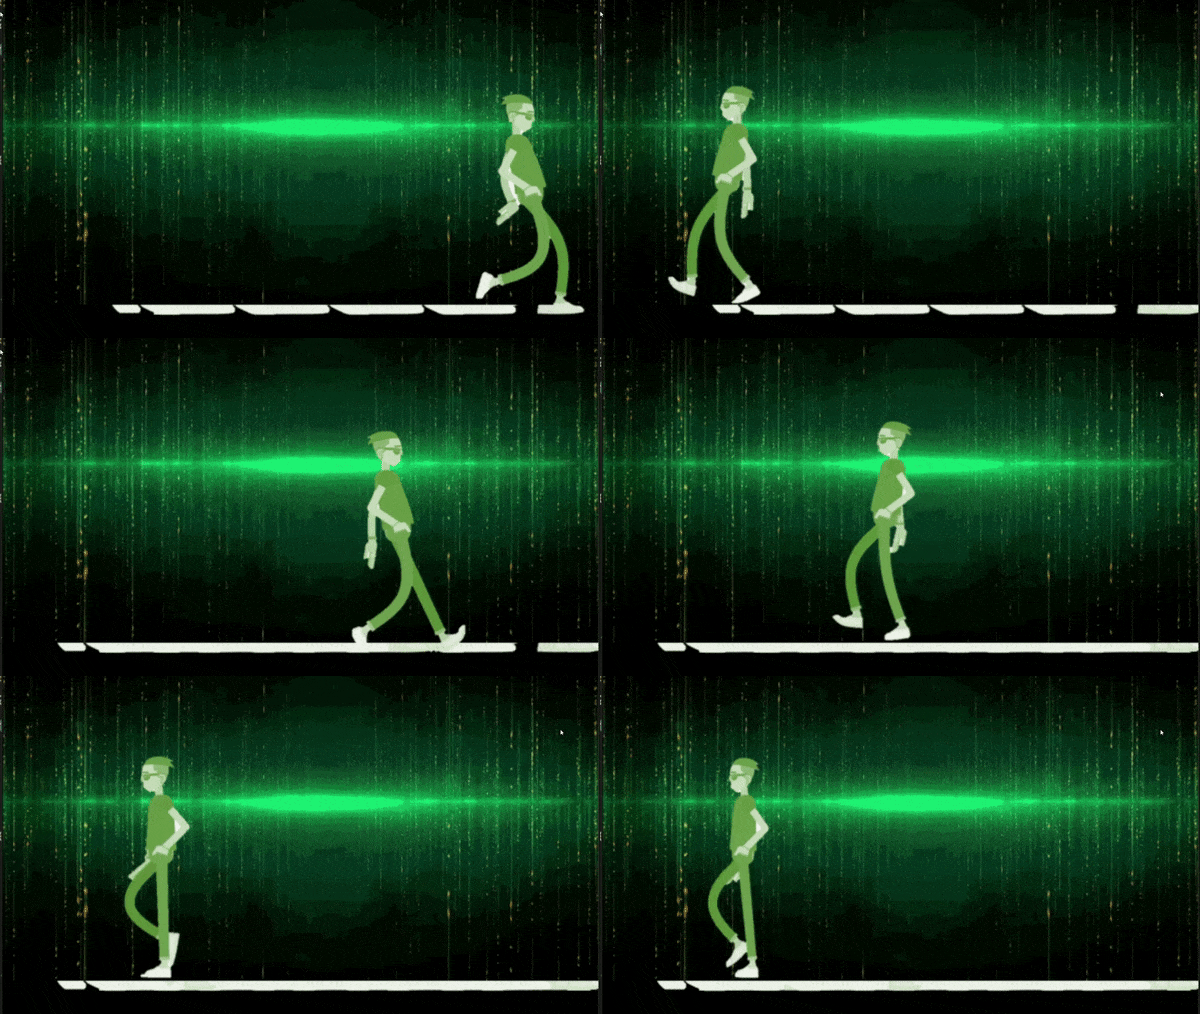
Para mover el personaje en la ventana de sprite presionando las teclas del teclado «flecha izquierda» y «flecha derecha» , significa que el usuario maneja manualmente el movimiento del personaje.
- Presiona la tecla izquierda para mover el lado izquierdo del personaje.
- Presiona la tecla derecha para mover el lado derecho del personaje.
- No puede moverse fuera de la pantalla ya que hemos declarado la dirección de movimiento para que el personaje no se mueva más allá de la pantalla mostrada.
Python3
import pygame as py
import os
py.init()

# THE WIDTH AND HEIGHT OF OUR SCREEN
win = py.display.set_mode((600, 480))

py.display.set_caption("Sprite pygame direction movement")

# DECLARING THE LOCATION OF THE FOLDER
# IN WHICH ALL THE LEFT
# AND RIGHT IMAGES FOR THE MOVEMENT
folderPath_left = "Character_images_left"
folderPath_right = "Character_images_right"

# STORE THE FOLDER LOCATION IN ONE LIST
myList_right = os.listdir(folderPath_right)
myList_left = os.listdir(folderPath_left)

# PICTURE FOR RIGHT MOVEMENT
movement_right = []
for imPath in myList_right:

    # APPENDING THE IMAGES WITH THE
    # LOCATION IN A LIST
    movement_right.append(py.image.load(f'{folderPath_right}/{imPath}'))

# PICTURE FOR LEFT MOVEMENT
movement_left = []
for imPath in myList_left:

    # APPENDING THE IMAGES WITH THE
    # LOCATION IN A LIST
    movement_left.append(py.image.load(f'{folderPath_left}/{imPath}'))

# SETTING BACKGROUND IMAGE
bg = py.image.load('hacker.gif')

# SETTING CHARACTER IMAGE FOR THE
# STANDING POSITION
standing_position = py.image.load('r1.png')

x = 20
y = 100
width = 40
height = 100
velocity = 5

clock = py.time.Clock()

left = False
right = False
movement_count = 0

# Declaring the sprite window
def Sprite_Window():

    # To store the movement count
    global movement_count

    win.blit(bg, (1, 1))
    if movement_count + 1 >= 20:
        movement_count = 0

    # To move the character right side of
    # the sprite window
    if right:
        win.blit(movement_right[movement_count//4], (x, y))
        movement_count = movement_count + 1

    # To move the character left side of
    # the sprite window
    elif left:
        win.blit(movement_left[movement_count//4], (x, y))
        movement_count = movement_count + 1

    # If user will not press any keys then
    # the image in the sprite
    # window will be in the standing position
    else:
        win.blit(standing_position, (x, y))
        movement_count = 0

    # To update the display screen
    py.display.update()


# This will be used to quit the window
run = 1
while run:

    # This will manage the frame rate and provide
    # more smoothness to the movement
    clock.tick(33)
    for event in py.event.get():
        if event.type == py.QUIT:
            run = 0
    keys = py.key.get_pressed()

    # To move to the end of the screen
    if keys[py.K_RIGHT] and x < 480 - velocity - width:

        # For moving in the right direction
        x += velocity
        right = True
        left = False

    # To move to the end of the screen
    elif keys[py.K_LEFT] and x > velocity - width:

        # For moving in the left direction
        x -= velocity
        right = False
        left = True
    else:
        left = False
        right = False
        movement_count = 0

    Sprite_Window()
py.quit()
Producción:

Salida para el movimiento manual del personaje por la tecla izquierda y derecha en sprite
Publicación traducida automáticamente
Artículo escrito por abhilashgaurav003 y traducido por Barcelona Geeks. The original can be accessed here. Licence: CCBY-SA