Para crear un servidor web necesitamos importar el módulo ‘http’ usando el método require() y crear un servidor usando el método createServer() del módulo HTTP.
Sintaxis:
const http = require('http')
const server = createServer(callback).listen(port,hostname);
Ahora, en la devolución de llamada en el método createServer(), necesitamos leer el archivo de nuestro directorio local y servirlo usando nuestro servidor. Para esto, necesitamos importar el módulo ‘fs’ y usar su método readFile() .
Sintaxis:
Importación del módulo ‘fs’:
const fs = require('fs')
fs.readFile():
fs.readFile( filename, encoding, callback_function)
Una vez que hayamos terminado de leer el archivo, debemos renderizarlo en nuestro servidor.
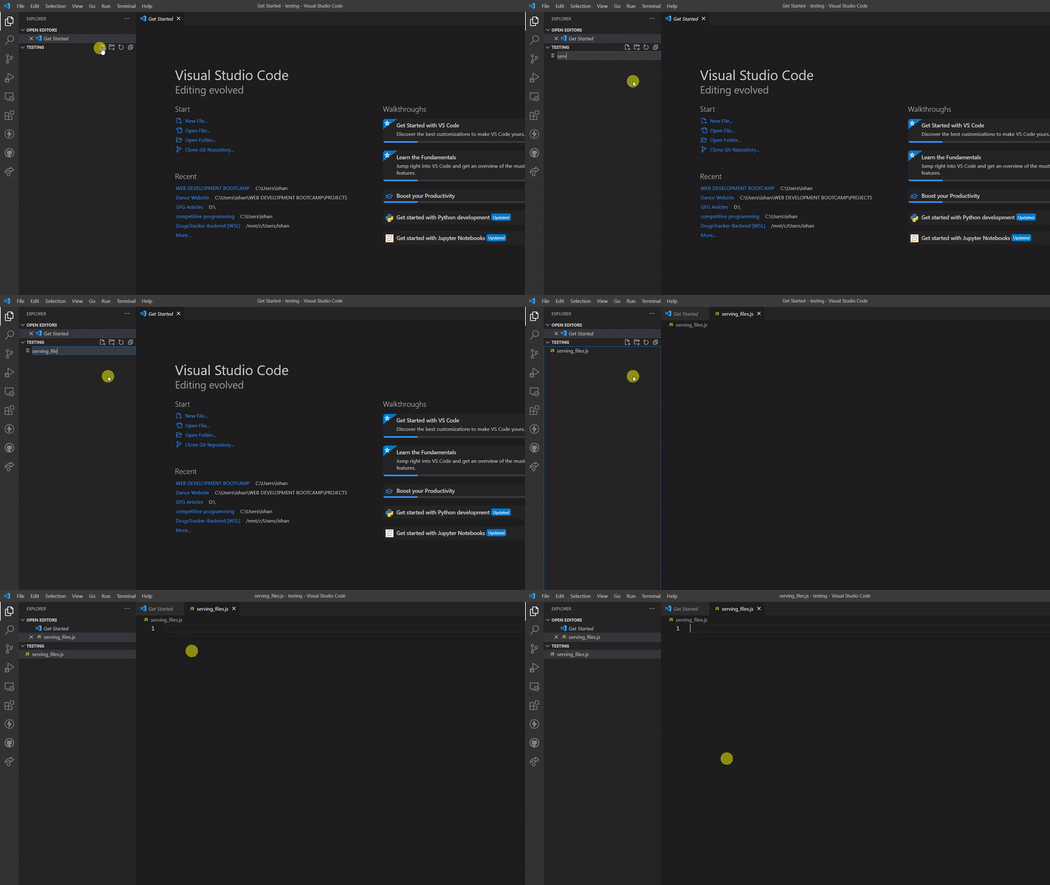
Configuración del proyecto: cree un archivo serve_files.js y configure su directorio como su directorio actual en su terminal.

configuración del proyecto
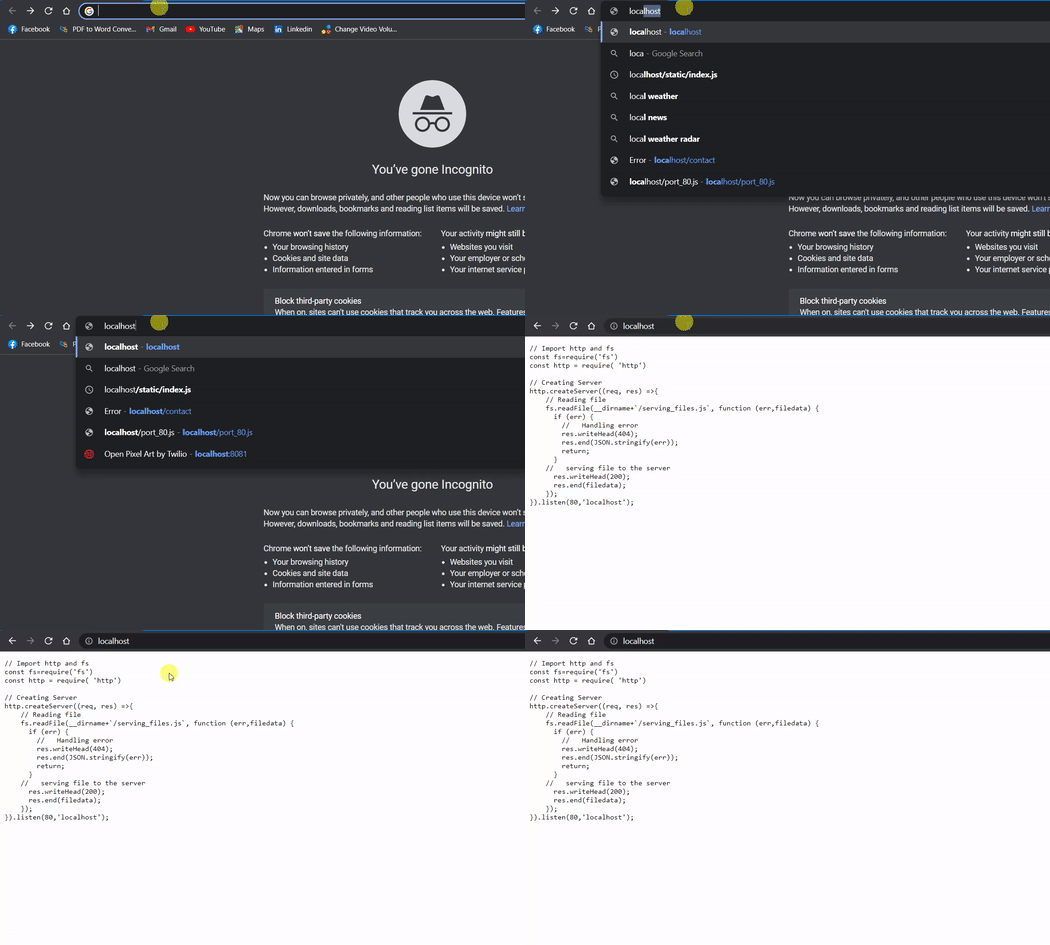
Ejemplo 1: en este ejemplo, estamos especificando en nuestro código nuestro nombre de archivo serve_files.js, de modo que cuando ejecutemos http://localhost/ en nuestro navegador, nuestro archivo se procesará.
serving_files.js
// Import http and fs
const fs=require('fs')
const http = require( 'http')

// Creating Server
http.createServer((req, res) =>{

    // Reading file
    fs.readFile(`serving_files.js`, function (err,filedata) {
      if (err) {

        // Handling error
        res.writeHead(404);
        res.end(JSON.stringify(err));
        return;
      }

      // serving file to the server
      res.writeHead(200);
      res.end(filedata);
    });
}).listen(80,'localhost');
Paso para ejecutar la aplicación: Ejecute el siguiente comando en la terminal para iniciar el servidor:
node serving_files.js
Producción:
// Import http and fs
const fs=require('fs')
const http = require( 'http')

// Creating Server
http.createServer((req, res) =>{
    // Reading file
    fs.readFile(`serving_files.js`, function (err,filedata){
      if (err) {
        //   Handling error
        res.writeHead(404);
        res.end(JSON.stringify(err));
        return;
      }
    //   serving file to the server
      res.writeHead(200);
      res.end(filedata);
    });
}).listen(80,'localhost');

Salida en el navegador
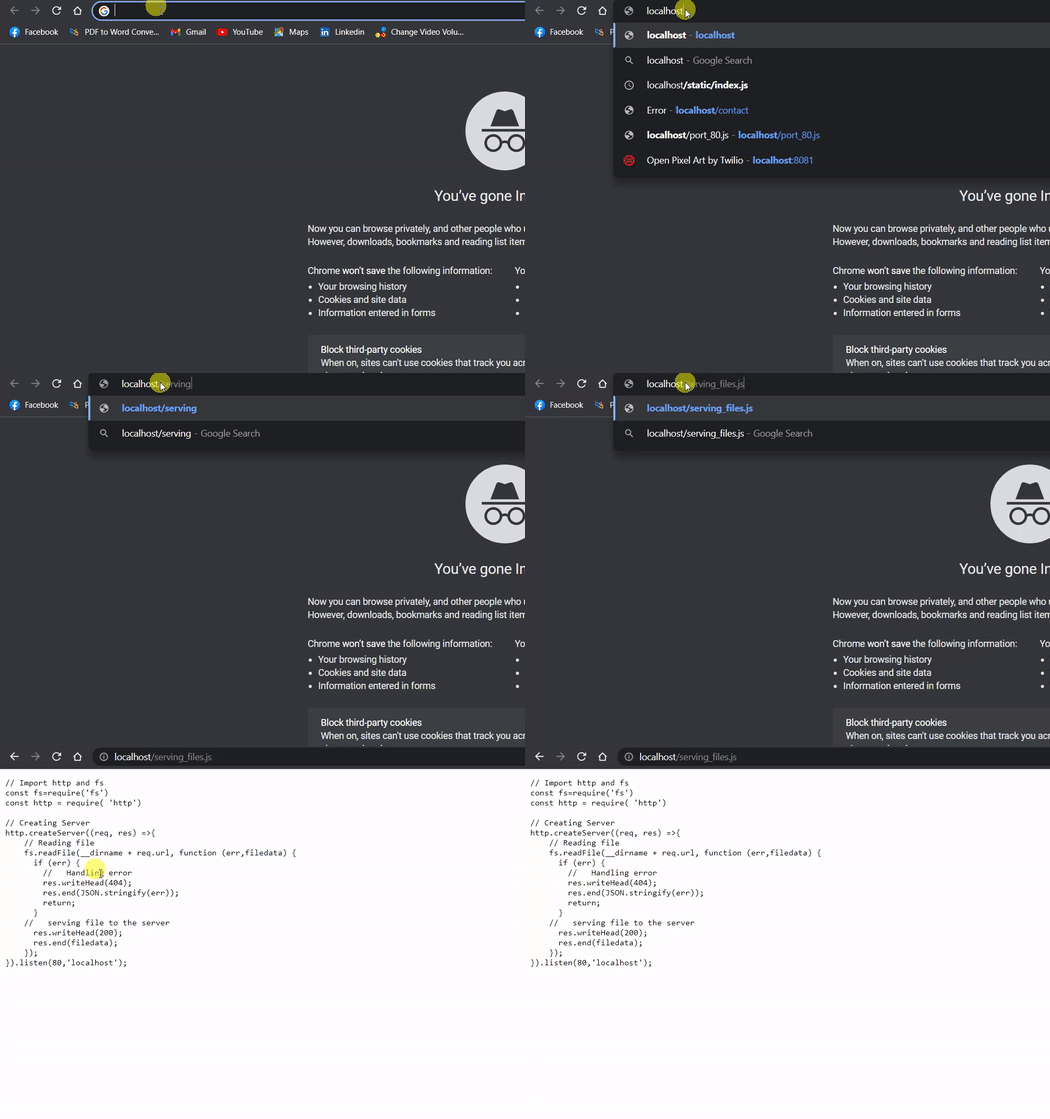
Ejemplo 2: En este ejemplo, en lugar de especificar el nombre del archivo en nuestro código, lo haremos pasando nuestro nombre de archivo en nuestra URL de solicitud. Entonces, de esta manera, podemos acceder a cualquier archivo de nuestro servidor especificando el nombre del archivo en nuestra URL de solicitud y no estaremos limitados a recuperar solo un archivo.
Entonces, para abrir cualquier archivo de nuestro servidor, debemos pasar nuestra URL de solicitud de la siguiente manera:
http://hostname:port/file_name
En nuestro ejemplo a continuación, nuestra URL de solicitud sería http://localhost/serving_files.js
serving_files.js
// Import http and fs
const fs=require('fs')
const http = require( 'http')

// Creating Server
http.createServer((req, res) =>{

    // Reading file
    fs.readFile(__dirname + req.url, function (err,filedata) {
      if (err) {

        // Handling error
        res.writeHead(404);
        res.end(JSON.stringify(err));
        return;
      }
      // serving file to the server
      res.writeHead(200);
      res.end(filedata);
    });
}).listen(80,'localhost');
Paso para ejecutar la aplicación: Ejecute el siguiente comando en la terminal para iniciar el servidor:
node serving_files.js
Producción:
// Import http and fs
const fs=require('fs')
const http = require( 'http')

// Creating Server
http.createServer((req, res) =>{
    // Reading file
    fs.readFile(__dirname + req.url, function (err,filedata) {
      if (err) {
        //   Handling error
        res.writeHead(404);
        res.end(JSON.stringify(err));
        return;
      }
    //   serving file to the server
      res.writeHead(200);
      res.end(filedata);
    });
}).listen(80,'localhost');

Entrega de archivos a través de URL de solicitud
NOTA: En los ejemplos anteriores, hemos utilizado el puerto 80, que es el puerto HTTP predeterminado . Entonces, incluso si no especificamos el puerto en nuestra URL de solicitud, por defecto se toma como 80.
En caso de que esté utilizando cualquier otro número de puerto, especifíquelo en su URL de solicitud. Por ejemplo, si está utilizando el puerto 8000, la URL de su solicitud sería
http://localhost:8000/serving_files.js
Publicación traducida automáticamente
Artículo escrito por ishankhandelwals y traducido por Barcelona Geeks. The original can be accessed here. Licence: CCBY-SA