En Windows Forms, el control DateTimePicker se usa para seleccionar y mostrar la fecha/hora con un formato específico en su formulario. En el control DateTimePicker, puede establecer la fecha y la hora máximas que se pueden seleccionar en DateTimePicker mediante la propiedad MaxDate . El valor predeterminado de esta propiedad es el 31 de diciembre de 9998 12 am. Puede establecer esta propiedad de dos maneras diferentes:
1. Tiempo de diseño: es la forma más fácil de establecer la fecha y la hora máximas en DateTimePicker, como se muestra en los siguientes pasos:
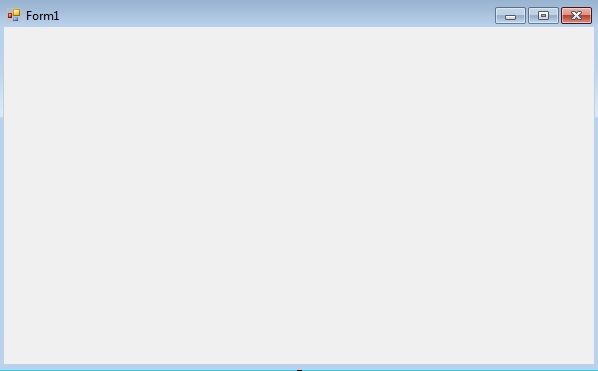
- Paso 1: cree un formulario de Windows como se muestra en la siguiente imagen:
Visual Studio -> Archivo -> Nuevo -> Proyecto -> WindowsFormApp

- Paso 2: A continuación, arrastre y suelte el control DateTimePicker desde la caja de herramientas hasta el formulario como se muestra en la siguiente imagen:

- Paso 3: Después de arrastrar y soltar, irá a las propiedades de DateTimePicker y establecerá la fecha y hora máximas en DateTimePicker como se muestra en la imagen a continuación:

Producción:

2. Tiempo de ejecución: es un poco más complicado que el método anterior. En este método, puede establecer la fecha y la hora máximas en el control DateTimePicker mediante programación con la ayuda de la sintaxis dada:
public DateTime MaxDate { get; set; }
Lanzará una ArgumentException si el valor de esta propiedad no es menor que el valor de MaxDate y también lanzará una SystemException si el valor de esta propiedad es menor que el valor de MinDateTime. Los siguientes pasos muestran cómo establecer la fecha y la hora máximas en DateTimePicker de forma dinámica:
- Paso 1: Crear un DateTimePicker usando el constructor DateTimePicker() proporcionado por la clase DateTimePicker.
// Creating a DateTimePicker
DateTimePicker dt = new DateTimePicker();
- Paso 2: después de crear DateTimePicker, establezca la propiedad MaxDate de DateTimePicker proporcionada por la clase DateTimePicker.
// Setting the maximum date and time
dt.MaxDate = new DateTime(2500, 12, 20);
- Paso 3: Y por último agregue este control DateTimePicker al formulario usando la siguiente declaración:
// Adding this control to the form
this.Controls.Add(dt);
Ejemplo:
using System;
using System.Collections.Generic;
using System.ComponentModel;
using System.Data;
using System.Drawing;
using System.Linq;
using System.Text;
using System.Threading.Tasks;
using System.Windows.Forms;

namespace WindowsFormsApp48 {

public partial class Form1 : Form {

    public Form1()
    {
        InitializeComponent();
    }

    private void Form1_Load(object sender, EventArgs e)
    {
        // Creating and setting the
        // properties of the Label
        Label lab = new Label();
        lab.Location = new Point(183, 162);
        lab.Size = new Size(172, 20);
        lab.Text = "Select Date and Time";
        lab.Font = new Font("Comic Sans MS", 12);

        // Adding this control
        // to the form
        this.Controls.Add(lab);

        // Creating and setting the
        // properties of the DateTimePicker
        DateTimePicker dt = new DateTimePicker();
        dt.Location = new Point(360, 162);
        dt.Size = new Size(292, 26);
        dt.MaxDate = new DateTime(2500, 12, 20);
        dt.MinDate = new DateTime(1753, 1, 1);
        dt.Format = DateTimePickerFormat.Long;
        dt.Name = "MyPicker";
        dt.Font = new Font("Comic Sans MS", 12);
        dt.Visible = true;
        dt.Value = DateTime.Today;

        // Adding this control
        // to the form
        this.Controls.Add(dt);
    }
}
}
Producción:

Publicación traducida automáticamente
Artículo escrito por ankita_saini y traducido por Barcelona Geeks. The original can be accessed here. Licence: CCBY-SA