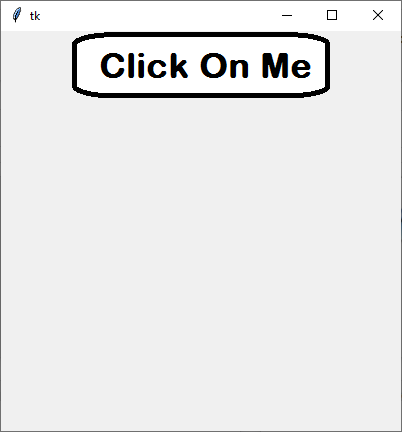
Tkinter es un módulo de Python que se utiliza para crear aplicaciones GUI (interfaz gráfica de usuario) con la ayuda de una variedad de widgets y funciones. Como cualquier otro módulo GUI, también admite imágenes, es decir, puede usar imágenes en la aplicación para hacerla más atractiva.
En este artículo, discutiremos cómo hacer un botón redondeado en Tkinter. No hay un método integrado para hacer botones redondeados en Tkinter. Para redondear el botón, definiremos el valor del ancho del borde en cero
borderwidth: Representará el tamaño del borde alrededor de la etiqueta. De forma predeterminada, el ancho del borde es de 2 píxeles. «bd» también se puede usar como abreviatura de borderwidth.
Implementación paso a paso:
Paso 1: crea una ventana normal de Tkinter.
Python3
# Import module
from tkinter import *

# Create object
root = Tk()

# Adjust size
root.geometry("400x400")

# Execute tkinter
root.mainloop()
Producción:

Paso 2: Agregar botón e imagen.
Python3
# Add Image
login_btn = PhotoImage(file = "Image Path")

# Create button and image
img = Button(root, image = login_btn,
             borderwidth = 0)

img.pack()
Producción:

A continuación se muestra la implementación completa:
Python3
# Import Module
from tkinter import *

# Create Object
root = Tk()

# Set geometry
root.geometry("400x400")

# Add Image
login_btn = PhotoImage(file = "Image Path")

# Create button and image
img = Button(root, image = login_btn,
             borderwidth = 0)

img.pack()

# Execute Tkinter
root.mainloop()
Producción:
