La tabla es una disposición de datos en filas y columnas, o posiblemente en una estructura más compleja. Las tablas se utilizan ampliamente en la comunicación, la investigación y el análisis de datos.
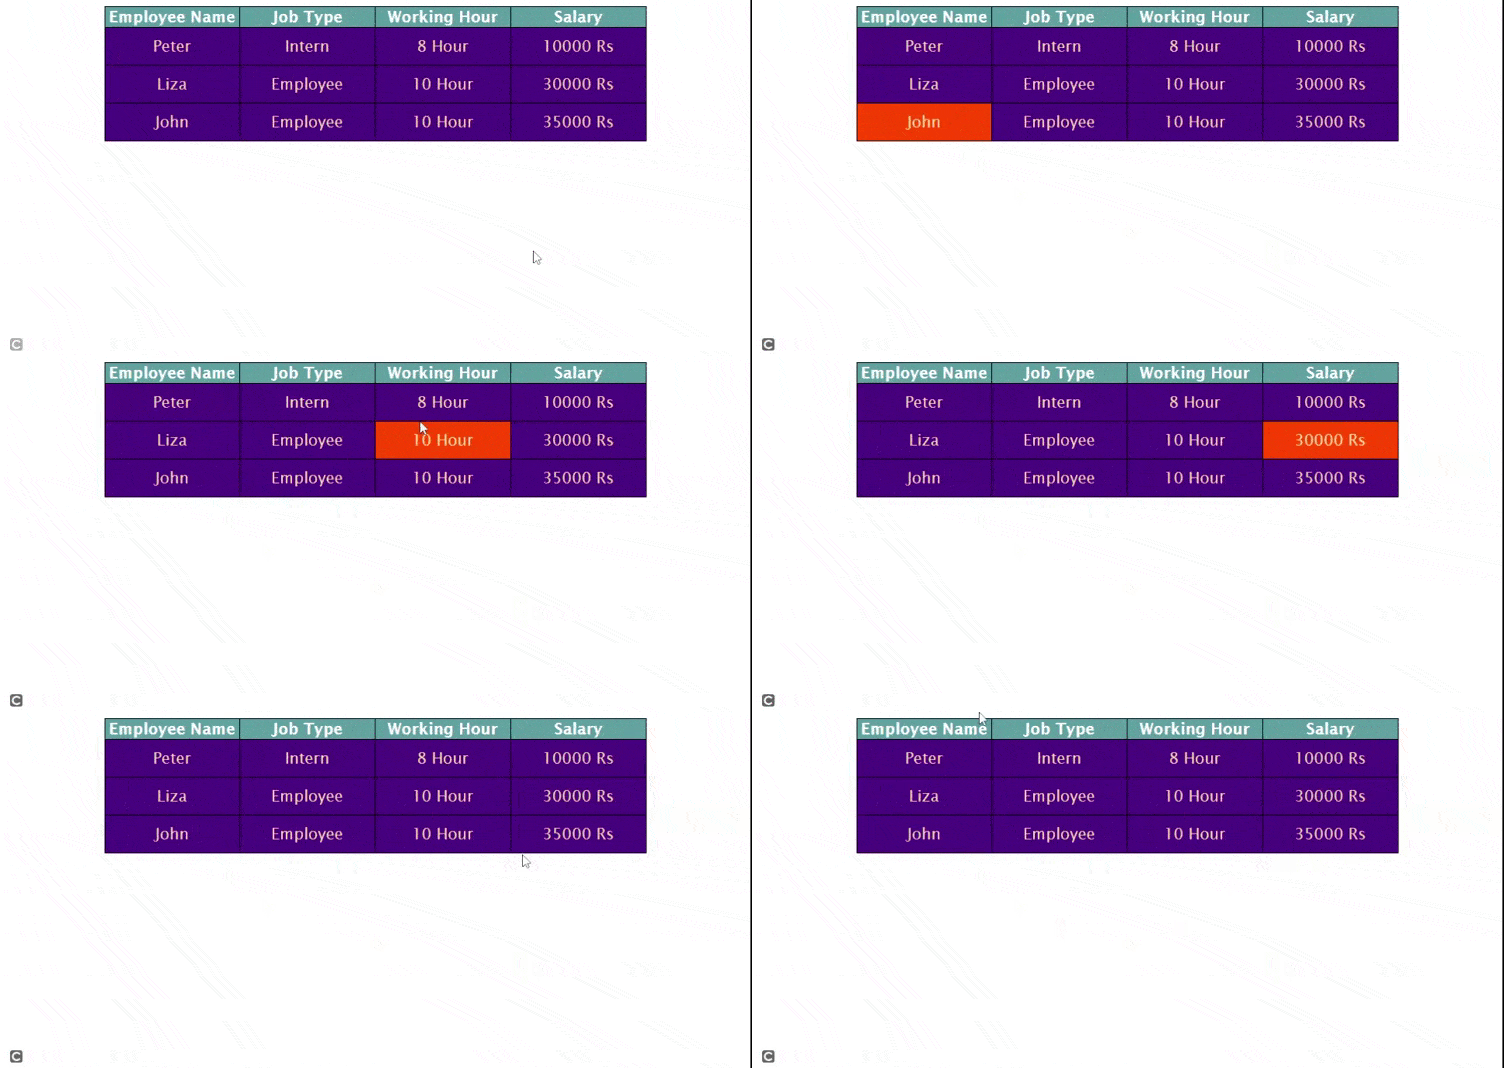
En este artículo, vamos a crear una Tabla con animación sobre sus columnas. Vamos a implementarlo usando HTML y CSS .
Enfoque: Implementación paso a paso:
Paso 1: crear la estructura de la tabla usando HTML: crearemos una estructura de tabla usando una etiqueta de tabla en HTML.
HTML
<!DOCTYPE html>
<html lang="en">

<head>
    <meta charset="UTF-8">
    <meta http-equiv="X-UA-Compatible"
        content="IE=edge">
    <meta name="viewport" content=
        "width=device-width, initial-scale=1.0">

    <!-- Set title of web page -->
    <title>GFG Animated Table</title>
</head>

<body>

    <!-- Creating the structure of table -->
    <table>
        <tr>
            <!-- Creating heading of table -->
            <th>Employee Name</th>
            <th>Job Type</th>
            <th>Working Hour</th>
            <th>Salary</th>
        </tr>

        <tr>
            <!-- Add 1st data to table -->
            <td>Peter</td>
            <td>Intern</td>
            <td>8 Hour</td>
            <td>10000 Rs</td>
        </tr>

        <tr>
            <!-- Add 2nd data to table -->
            <td>Liza</td>
            <td>Employee</td>
            <td>10 Hour</td>
            <td>30000 Rs</td>
        </tr>

        <tr>
            <!-- Add 3rd data to table -->
            <td>John</td>
            <td>Employee</td>
            <td>10 Hour</td>
            <td>35000 Rs</td>
        </tr>
    </table>
</body>

</html>
Paso 2: Decorar la mesa usando CSS: Ahora, aplicaremos CSS sobre la mesa que hemos creado anteriormente.
/* Set the content of table using
css properties */
table {
    width: 700px;
    margin: auto;
    text-align: center;
    table-layout: fixed;
}

/* Applying css properties to
table components */
table,
td,
tr {
    padding: 12px;
    color: wheat;
    background: indigo;
    border: 1px solid black;
    border-collapse: collapse;
    font-size: 20px;
    font-family: 'Lucida Sans',
        'Lucida Sans Regular',
        'Lucida Grande',
        'Lucida Sans Unicode',
        Geneva, Verdana, sans-serif;
}

/* Apply css properties to th */
th {
    color: white;
    border: 1px solid black;
    border-collapse: collapse;
    background: cadetblue;
}

/* Apply hover effect to td */
td:hover {
    background: orangered;
}
Código completo: el código HTML completo se proporciona como ejemplo para su ayuda. Se agregan comentarios en el código para una mejor comprensión.
HTML
<!DOCTYPE html>
<html lang="en">

<head>
    <meta charset="UTF-8">
    <meta http-equiv="X-UA-Compatible"
            content="IE=edge">
    <meta name="viewport" content=
        "width=device-width, initial-scale=1.0">

    <!-- Set title of web page -->
    <title>GFG Animated Table</title>

    <style>

        /* Set the content of table
        using css properties */
        table {
            width: 700px;
            margin: auto;
            text-align: center;
            table-layout: fixed;
        }

        /* Applying css properties
        to table components */
        table,
        td,
        tr {
            padding: 12px;
            color: wheat;
            background: indigo;
            border: 1px solid black;
            border-collapse: collapse;
            font-size: 20px;
            font-family: 'Lucida Sans',
                'Lucida Sans Regular',
                'Lucida Grande',
                'Lucida Sans Unicode',
                Geneva, Verdana, sans-serif;
        }

        /* Apply css properties to th */
        th {
            color: white;
            border: 1px solid black;
            border-collapse: collapse;
            background: cadetblue;
        }

        /* Apply hover effect to td */
        td:hover {
            background: orangered;
        }
    </style>
</head>

<body>

    <!-- Creating the structure of table -->
    <table>
        <tr>
            <!-- Creating heading of table -->
            <th>Employee Name</th>
            <th>Job Type</th>
            <th>Working Hour</th>
            <th>Salary</th>
        </tr>

        <tr>
            <!-- Add 1st data to table -->
            <td>Peter</td>
            <td>Intern</td>
            <td>8 Hour</td>
            <td>10000 Rs</td>
        </tr>

        <tr>
            <!-- Add 2nd data to table -->
            <td>Liza</td>
            <td>Employee</td>
            <td>10 Hour</td>
            <td>30000 Rs</td>
        </tr>

        <tr>
            <!-- Add 3rd data to table -->
            <td>John</td>
            <td>Employee</td>
            <td>10 Hour</td>
            <td>35000 Rs</td>
        </tr>
    </table>
</body>

</html>
Producción:

mesa animada
Publicación traducida automáticamente
Artículo escrito por riyamathur y traducido por Barcelona Geeks. The original can be accessed here. Licence: CCBY-SA