Para mostrar cómo implementar una aplicación nodejs, primero vamos a crear una aplicación de muestra para comprender mejor el proceso.
He creado un «ejemplo» de directorio/carpeta para mi proyecto de ejemplo.
Antes de continuar, asegúrese de haber instalado nodejs y git en su sistema .
Ahora, abra la línea de comando y cd dentro del directorio de ejemplo (o cualquiera que sea el nombre de la carpeta de su proyecto)
Siga los siguientes pasos para crear la aplicación de muestra para este tutorial
PASO 1: Cree un archivo «paquete.json» usando el siguiente comando
npm init

PASO 2: Cree un archivo llamado «app.js» dentro de la carpeta de su proyecto
PASO 3: Cree un archivo html «head.html»
Complete el archivo con el siguiente contenido
Esta será la página de inicio de nuestra aplicación que está conectada a otra página a través de Hipervínculo.
html
<!DOCTYPE html>
<html>
<head>
    <title>Hello World</title>
</head>
<body>

    <h1>This is the Homepage</h1>

<p><a href="/tailPage">Go to Next Page</a></p>


</body>
PASO 4: Crear otro archivo html “tail.html”
El contenido de tail.html es
html
<!DOCTYPE html>
<html>
<head>
    <title>Hello World</title>
</head>
<body>

    <h1>WORKING</h1>

</body>
PASO 5: Abra el archivo «app.js» creado en el paso 2 y copie y pegue el siguiente código en él
javascript
var http = require('http');
var fs = require('fs'); // to get data from html file

http.createServer(function (req, res) {
    res.writeHead(200, { 'Content-Type': 'text/html' });

    // req.url stores the path in the url
    var url = req.url;
    if (url === "/") {
// fs.readFile looks for the HTML file
// the first parameter is the path to the HTML page
// the second is the call back function
// if no file is found the function gives an error
// if the file is successfully found, the content of the file are contained in pgres
        fs.readFile("head.html", function (err, pgres) {
            if (err)
                res.write("HEAD.HTML NOT FOUND");
            else {
                // The following 3 lines
                // are responsible for sending the html file
                // and ends the response process
                res.writeHead(200, { 'Content-Type': 'text/html' });
                res.write(pgres);
                res.end();
            }
        });
    }
    else if (url === "/tailPage") {
        fs.readFile("tail.html", function (err, pgres) {
            if (err)
                res.write("TAIL.HTML NOT FOUND");
            else {
                res.writeHead(200, { 'Content-Type': 'text/html' });
                res.write(pgres);
                res.end();
            }
        });
    }

}).listen(3000, function () {
    console.log("SERVER STARTED PORT: 3000");
});
Ahora, el código anterior muestra el archivo «head.html» como la página de inicio que está conectada a «tail.html».
PASO 6: Abra la terminal nuevamente y escriba el siguiente comando para ejecutar el servidor.
node app.js

Para ver su aplicación ejecutándose, escriba «localhost:3000» en su navegador como URL.
Hemos creado con éxito la aplicación de muestra, ahora vamos a implementarla en la web.
Hay muchas plataformas en la nube como AWS, Heroku, Digital Ocean, etc.
Pasos para implementar una aplicación de muestra
Para este ejemplo, vamos a usar Heroku ya que es fácil de usar y puede usarlo para probar sus aplicaciones de forma gratuita. Las versiones gratuitas tienen algunas limitaciones, por lo tanto, si desea utilizar el sitio para negocios comerciales, se recomienda obtener un paquete pago. Dado que este es un tutorial, usaremos la versión gratuita.
NOTA: TODOS LOS COMANDOS SE REALIZAN DENTRO DEL DIRECTORIO/CARPETA QUE CONTIENE SU PROYECTO
PASO 1: Vaya a https://www.heroku.com/ y regístrese.
PASO 2: Después de completar el proceso de registro, inicie sesión y vaya a https://dashboard.heroku.com/apps
Antes de continuar, asegúrese de haber instalado la última versión de Git en su PC.
PASO 3: Ir aPrimeros pasos en Heroku con Node.js y descargue Heroku Cli para su sistema.
Puede verificar si Heroku CLI se instaló correctamente o no escribiendo el comando
heroku -v
Debe tener un aspecto como este

PASO 4: Escriba
heroku login
en la línea de comando

Presione cualquier tecla para continuar, se abrirá una nueva pestaña en su navegador que le pedirá que inicie sesión en su cuenta de Heroku
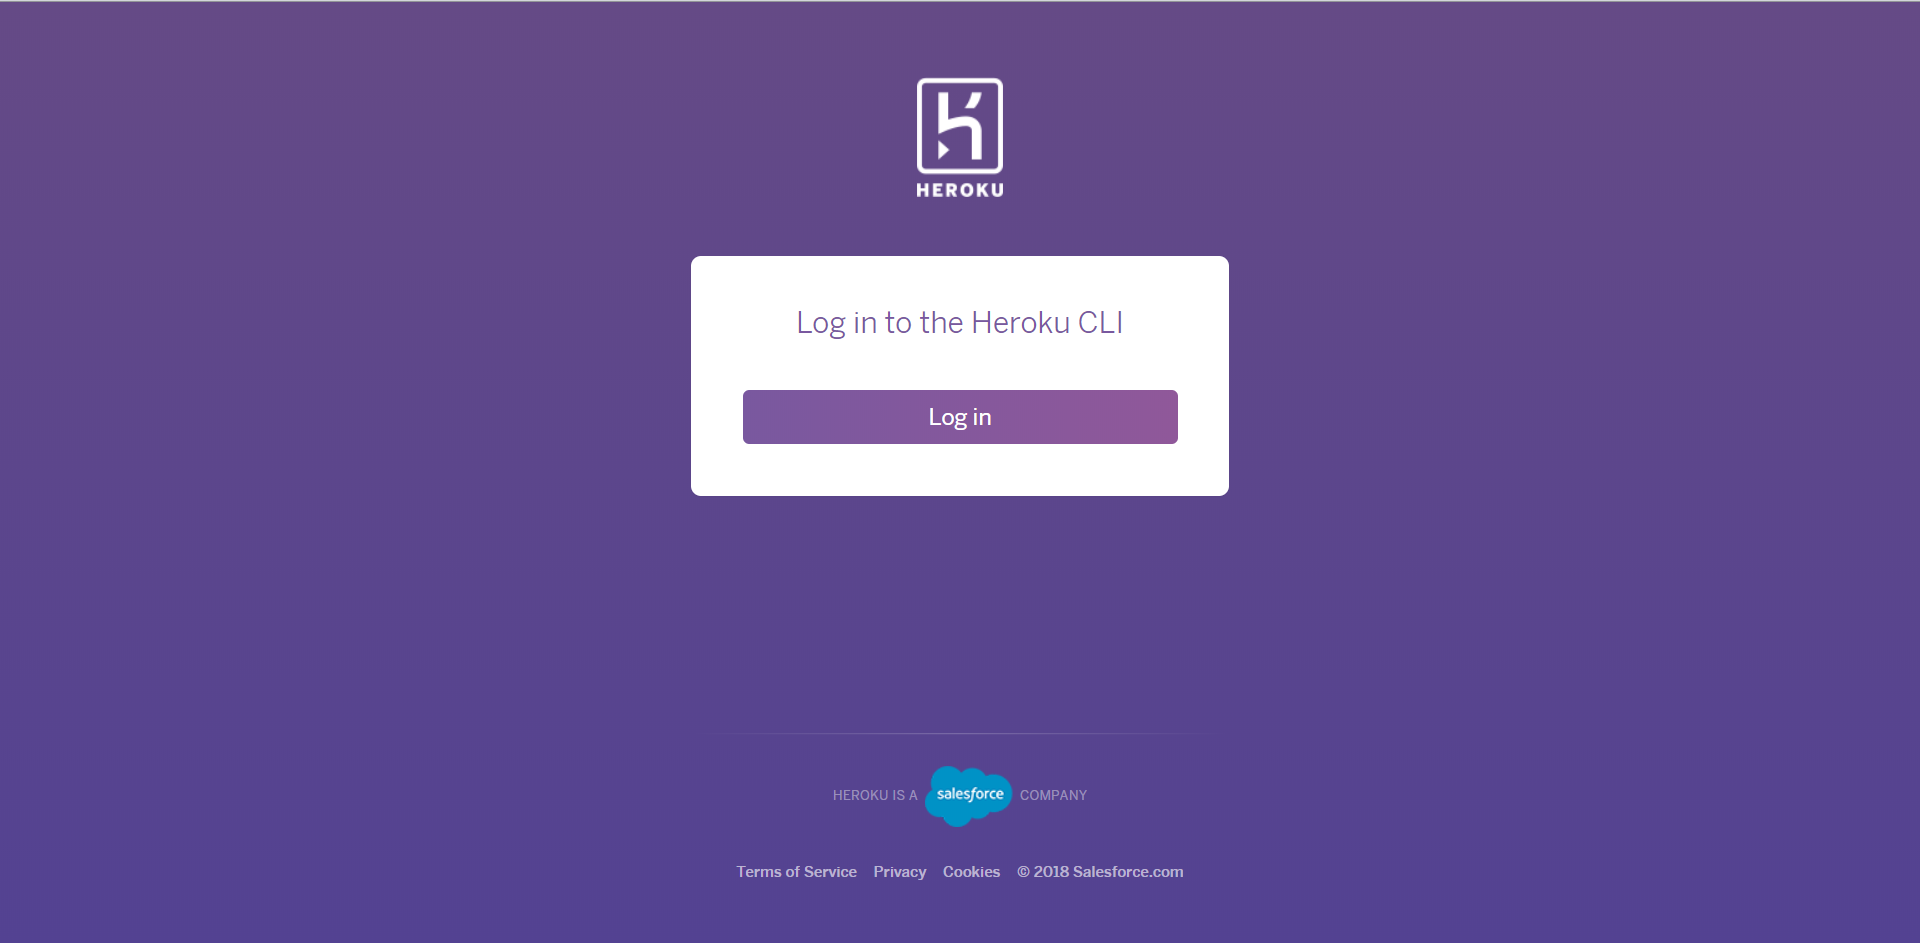
Haga clic en Iniciar sesión Abajo
Después de iniciar sesión con éxito, la línea de comando se verá así

(Es posible que Heroku no se conecte a Git bash, así que use el Símbolo del sistema o la terminal si la conexión tarda mucho, es decir, si estaba usando git bash)
PASO 5: Ahora, asegúrese de que estamos usando Git en el directorio de nivel superior de nuestra aplicación. Podemos verificar si el directorio tiene Git o no con el comando
git status

Para convertirlo en un directorio git, escriba el comando
git init

Ahora, escribe
git add .
en línea de comando.

(Ignore la advertencia por ahora)
Ahora, debemos confirmar los archivos que hemos agregado a git. Escribe
git commit -m "initial commit"

PASO 6: Crea la aplicación heruko por comando
heroku create

Esto creará un git remoto que está conectado a nuestro repositorio local de git
PASO 7: Escriba
git push heroku master
para implementar la aplicación en el servidor heroku
PASO 8: Después de implementar el
tipo de aplicación
heroku ps:scale web=1
para asegurarse de que una instancia de la aplicación se esté ejecutando
PASO 9: escriba
heroku open
esto abrirá una aplicación en su navegador.
Ahora, es posible que obtenga una pantalla como esta

Vaya a la línea de comando y escriba
heroku logs
para comprobar si hay un error. Ayuda a depurar la aplicación.

Dice “ npm ERR! secuencia de comandos faltante: inicio “
Para solucionar este problema, necesitamos configurar una secuencia de comandos de inicio, la secuencia de comandos de inicio le dice al servidor que ejecute “node app.js” después de instalar los paquetes.
PASO 10: Para configurar el script de inicio, abra package.json dentro de la carpeta de ejemplo y escriba ‘“start”: “node app.js” ‘ dentro de la etiqueta “scripts”.
ver la imagen

(NO OLVIDES LA COMA ‘, ‘)
PASO 11: Escribe el siguiente comando en la línea de comando
Necesitamos enviar la aplicación a Heroku cada vez que hagamos cambios en ella.
git add .
git commit -m "another commit"
git push heroku master
heroku open
PASO 12: Todavía hay un problema. El problema aún no está solucionado. Estamos usando PUERTO: 3000 pero Heroku no. Heroku usa un puerto dinámico, no podemos arreglarlo en 3000. Si queremos que nuestra aplicación funcione en Heroku, debemos agregar la siguiente línea en el archivo app.js .listen(
process.env.PORT || 3000, function(… ));
app.js ahora se verá así
javascript
// Write Javascript code here

var http = require('http');
var fs = require('fs'); // to get data from html file


http.createServer(function (req, res) {
    res.writeHead(200, { 'Content-Type': 'text/html' });

    // req.url stores the path in the url
    var url = req.url;
    if (url === "/") {
// fs.readFile looks for the html file
// the first parameter is the path to the html page
// the second is the call back function
// if no file is found the function gives an err
// if the file is successfully found, the content of the file are contained in pgres
        fs.readFile("head.html", function (err, pgres) {
            if (err)
                res.write("HEAD.HTML NOT FOUND");
            else {
                // The following 3 lines
                // are responsible for sending the html file
                // and ends the response process
                res.writeHead(200, { 'Content-Type': 'text/html' });
                res.write(pgres);
                res.end();
            }
        });
    }
    else if (url === "/tailPage") {
        fs.readFile("tail.html", function (err, pgres) {
            if (err)
                res.write("TAIL.HTML NOT FOUND");
            else {
                res.writeHead(200, { 'Content-Type': 'text/html' });
                res.write(pgres);
                res.end();
            }
        });
    }

}).listen(process.env.PORT || 3000, function () {
    console.log("SERVER STARTED PORT: 3000");
});
PASO 13: Vuelva a escribir
git add .
git commit -m "another commit"
git push heroku master
heroku open


Enhorabuena, ha implementado con éxito su primera aplicación web.
NOTA:
1. Si su aplicación usa MongoDB, tendrá que implementar el servidor MongoDB por separado en alguna otra plataforma en la nube.
2. Estaba teniendo problemas para conectar git bash a Heroku, por eso cambié a CMD en el medio. Entonces, recomiendo no usar Git Bash.