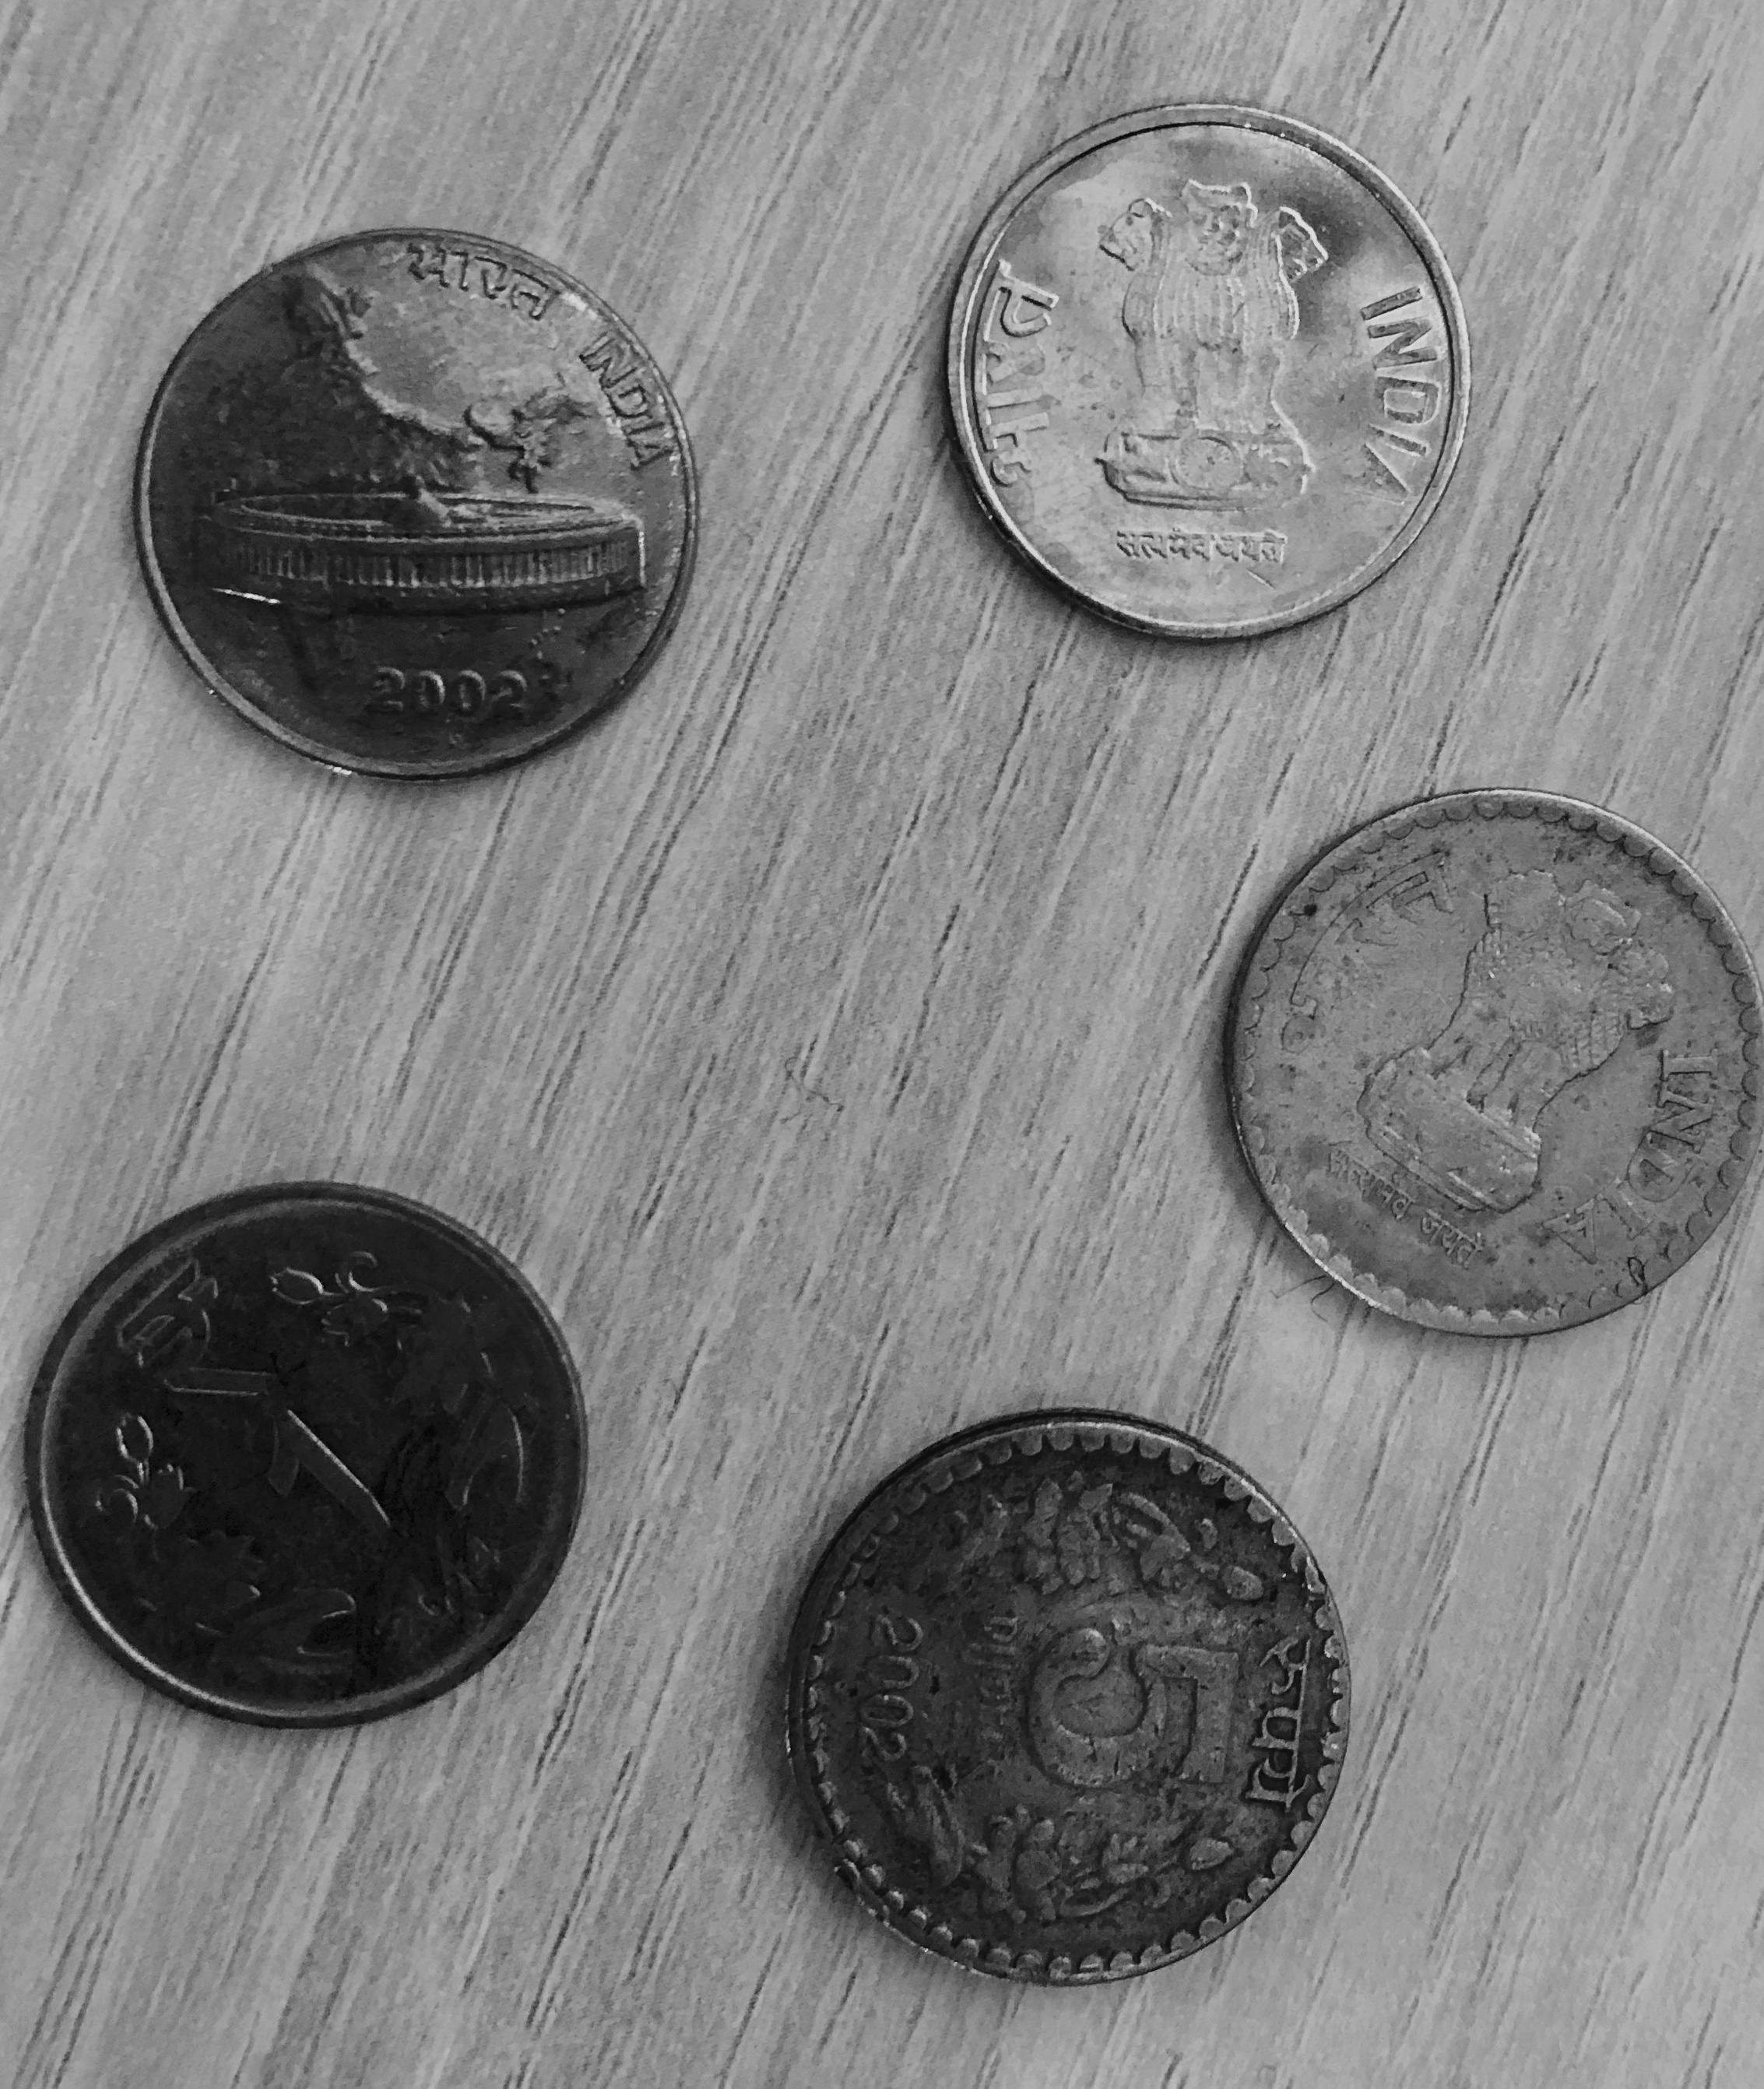
La siguiente es la explicación del código C++ para la detección de monedas en C++ usando la herramienta OpenCV.
- El código solo se compilará en un entorno Linux.
- Para ejecutar en Windows, use el archivo: ‘coin.o’ y ejecútelo en cmd. Sin embargo, si no se ejecuta (problema en la arquitectura del sistema), compílelo en Windows haciendo cambios adecuados y obvios en el código como: Usar en lugar de .
- Comando de compilación: g++ -w coin.cpp -o coin.exe `pkg-config –libs opencv`
- Ejecutar comando: ./moneda
- La imagen que contiene moneda/monedas debe estar en el mismo directorio que el código.
Antes de ejecutar el código, asegúrese de tener OpenCV instalado en su // sistema.
Fragmentos de código explicados:
#include "opencv2/highgui/highgui.hpp"
// highgui - an interface to video and image capturing.

#include "opencv2/imgproc/imgproc.hpp"
// imgproc - An image processing module that for linear and non-linear
 image filtering, geometrical image transformations, color space conversion and so on.
#include <iostream>
#include <stdio.h>
// The header files for performing input and output.

using namespace cv;
// Namespace where all the C++ OpenCV functionality resides.

using namespace std;
// For input output operations.

int main()
{
    Mat image;
    // Mat object is a basic image container. image is an object of Mat.

    image=imread("coin-detection.jpg",CV_LOAD_IMAGE_GRAYSCALE);
    // Take any image but make sure its in the same folder.
    // first argument denotes the image to be loaded.
    // second argument specifies the image format as follows:
    // CV_LOAD_IMAGE_UNCHANGED (<0) loads the image as it is.
    // CV_LOAD_IMAGE_GRAYSCALE ( 0) loads the image in Gray scale.
    // CV_LOAD_IMAGE_COLOR (>0) loads the image in the BGR format.
    // If the second argument is not there, it is implied CV_LOAD_IMAGE_COLOR.

    vector coin;
    // A vector data type to store the details of coins.

    HoughCircles(image,coin,CV_HOUGH_GRADIENT,2,20,450,60,0,0 );
    // Argument 1: Input image mode
    // Argument 2: A vector that stores 3 values: x,y and r for each circle.
    // Argument 3: CV_HOUGH_GRADIENT: Detection method.
    // Argument 4: The inverse ratio of resolution.
    // Argument 5: Minimum distance between centers.
    // Argument 6: Upper threshold for Canny edge detector.
    // Argument 7: Threshold for center detection.
    // Argument 8: Minimum radius to be detected. Put zero as default
    // Argument 9: Maximum radius to be detected. Put zero as default

    int l=coin.size();
    // Get the number of coins.

    cout<<"\n The number of coins is: "<<l<<"\n\n";

    // To draw the detected circles.
    for( size_t i = 0; i < coin.size(); i++ )
    {
    Point center(cvRound(coin[i][0]),cvRound(coin[i][1]));
    // Detect center
    // cvRound: Rounds floating point number to nearest integer.
    int radius=cvRound(coin[i][2]);
    // To get the radius from the second argument of vector coin.
    circle(image,center,3,Scalar(0,255,0),-1,8,0);
        // circle center
        //  To get the circle outline.
    circle(image,center,radius,Scalar(0,0,255),3,8,0);
        // circle outline
    cout<< " Center location for circle "<<i+1<<" :
        "<<center<<"\n Diameter : "<<2*radius<<"\n";
    }
    cout<<"\n";

    namedWindow("Coin Counter",CV_WINDOW_AUTOSIZE);
    // Create a window called
    //"A_good_name".
    // first argument: name of the window.
    // second argument: flag- types:
    // WINDOW_NORMAL : The user can resize the window.
    // WINDOW_AUTOSIZE : The window size is automatically adjusted to fit the
     // displayed image() ), and you cannot change the window size manually.
    // WINDOW_OPENGL : The window will be created with OpenGL support.

    imshow("Coin Counter",image);
    // first argument: name of the window
    // second argument: image to be shown(Mat object)

    waitKey(0); // Wait for infinite time for a key press.

    Return 0;    // Return from main function.
}

End of explanation.
Si también desea exhibir su blog aquí, consulte GBlog para escribir un blog invitado en GeeksforGeeks.
Publicación traducida automáticamente
Artículo escrito por GeeksforGeeks-1 y traducido por Barcelona Geeks. The original can be accessed here. Licence: CCBY-SA
