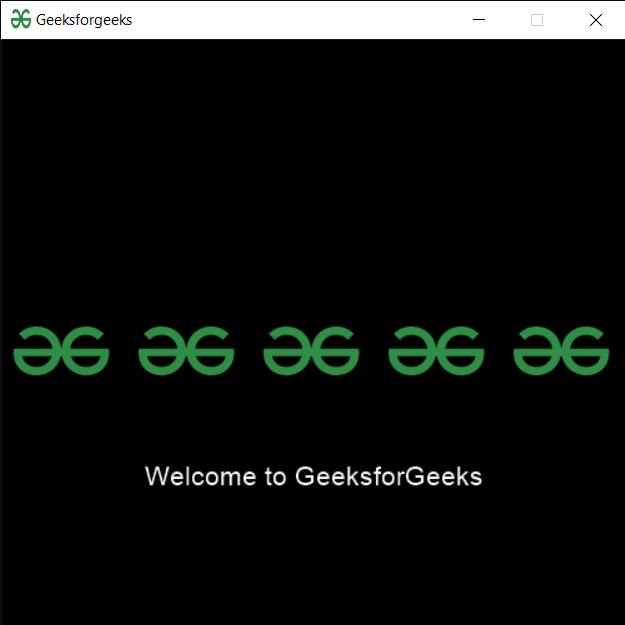
En este artículo, veremos cómo podemos dibujar múltiples sprites en la ventana del módulo PYGLET en python. Pyglet es una biblioteca fácil de usar pero poderosa para desarrollar aplicaciones GUI visualmente ricas como juegos, multimedia, etc. Una ventana es un objeto «pesado» que ocupa los recursos del sistema operativo. Las ventanas pueden aparecer como regiones flotantes o pueden configurarse para llenar una pantalla completa (pantalla completa). Un sprite es una instancia de una imagen que se muestra en la pantalla. Múltiples sprites pueden mostrar la misma imagen en diferentes posiciones en la pantalla. Los sprites también se pueden escalar más grandes o más pequeños, rotar en cualquier ángulo y dibujar en una opacidad fraccionaria. La imagen se carga con la ayuda del módulo de imagen de pyglet.
Los sprites se pueden agrupar y dibujar a la vez más rápidamente que si cada uno de sus métodos de dibujo se llamara individualmente. El siguiente ejemplo crea cien sprites de bolas y agrega cada uno de ellos a un lote. Luego, todo el lote de sprites se dibuja en una sola llamada.
Podemos crear una ventana, un lote y un sprite con la ayuda de los comandos que se indican a continuación.
# creating a window
window = pyglet.window.Window(width, height, title)

# creating a batch
batch = pyglet.graphics.Batch()

# creating a sprite object
pyglet.sprite.Sprite(img, x, y)
A continuación se muestra la implementación.
Python3
# importing pyglet module
import pyglet
import pyglet.window.key as key

# width of window
width = 500

# height of window
height = 500

# caption i.e title of the window
title = "Geeksforgeeks"

# creating a window
window = pyglet.window.Window(width, height, title)

# text
text = "Welcome to GeeksforGeeks"

# creating label with following properties
# font = cooper
# position = 250, 150
# anchor position = center
label = pyglet.text.Label(text,
                          font_name ='Cooper',
                          font_size = 16,
                          x = 250,
                          y = 150,
                          anchor_x ='center',
                          anchor_y ='center')


# creating a batch
batch = pyglet.graphics.Batch()

# loading geeksforgeeks image
image = pyglet.image.load('gfg.png')

# creating a list of sprites object
sprites = []

# position of images
pos_x = 10
pos_y = 230

for i in range(5):

    # temporary sprite object
    temp = pyglet.sprite.Sprite(image, pos_x, pos_y, batch = batch)

    # append the sprite object to the list
    sprites.append(temp)

    # increment the x co-ordinate
    pos_x = pos_x + 100


# on draw event
@window.event
def on_draw():

    # clear the window
    window.clear()

    # draw the label
    label.draw()

    # draw the batch
    batch.draw()

# key press event
@window.event
def on_key_press(symbol, modifier):

    # key "C" get press
    if symbol == key.C:

        # printing the message
        print("Key : C is pressed")

# image for icon
img = image = pyglet.resource.image("gfg.png")


# getting mouse button string
value = pyglet.window.mouse.buttons_string(2 | 5)


# setting image as icon
window.set_icon(img)

# start running the application
pyglet.app.run()
Producción :

Publicación traducida automáticamente
Artículo escrito por rakshitarora y traducido por Barcelona Geeks. The original can be accessed here. Licence: CCBY-SA