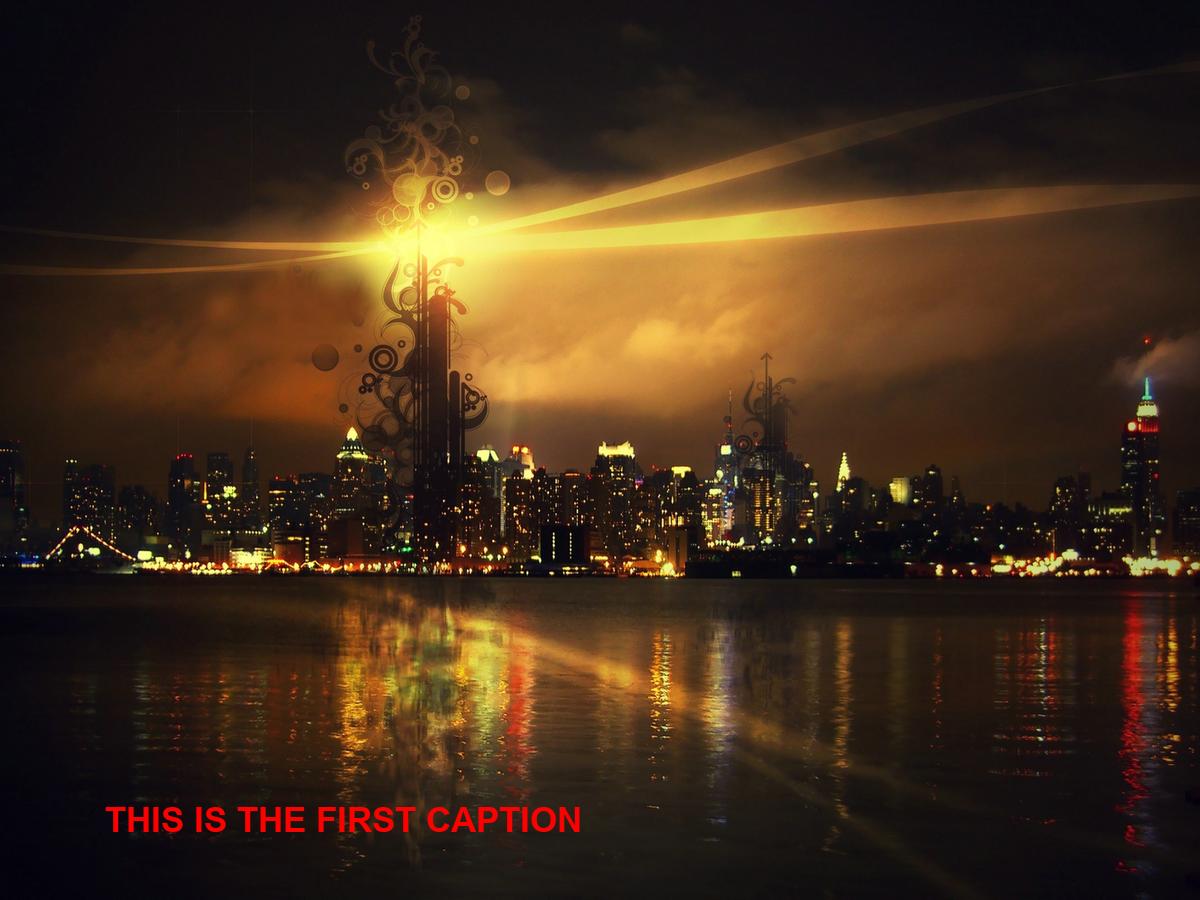
El subtitulado de imágenes es un problema muy clásico y desafiante que llega al dominio del aprendizaje profundo, en el que generamos la descripción textual de la imagen usando su propiedad, pero no usaremos el aprendizaje profundo aquí. En este artículo, simplemente aprenderemos cómo podemos simplemente subtitular las imágenes usando PIL.
El preprocesamiento de imágenes es una gran utilidad proporcionada por la biblioteca Python PIL. No solo podemos cambiar el tamaño, el modo y la orientación, sino que también podemos dibujar en las imágenes y escribir texto sobre ellas.
Instale las bibliotecas necesarias:
urllib
requests
PIL
glob
shutil
Pasos a seguir primero –
- Descarga el
font.ttfarchivo (antes de ejecutar el código) usando este enlace . - Cree una carpeta con el nombre «Imágenes con subtítulos» de antemano donde se almacenarán las imágenes con subtítulos de salida.
A continuación se muestra la implementación paso a paso usando Python:
Paso 1:
# importing required libraries
import urllib
import requests
import os

# retrieving using image url
urllib.request.urlretrieve("https://i.ibb.co/xY4DJJ5/img1.jpg", "img1.jpg")
urllib.request.urlretrieve("https://i.ibb.co/Gnd1Y1L/img2.jpg", "img2.jpg")
urllib.request.urlretrieve("https://i.ibb.co/Z6JgS1L/img3.jpg", "img3.jpg")

print('Images downloaded')

# get current working directory path
path = os.getcwd()


captionarr = [
    "This is the first caption",
    "This is the second caption",
    "This is the third caption"
    ]
Paso 2:
# importing necessary functions from PIL
from PIL import Image
from PIL import ImageFont
from PIL import ImageDraw

# print(os.getcwd())

# checking the file mime types if
# it is jpg, png or jpeg
def ext(file):
    index = file.find(".jpg")
    current_file = ""
    current_file = file[index:]
    return current_file

def ext2(file):
    index = file.find(".jpeg")
    current_file = ""
    current_file = file[index:]
    return current_file

def ext3(file):
    index = file.find(".png")
    current_file = ""
    current_file = file[index:]
    return current_file


# converting text from lowercase to uppercase
def convert(words):
    s = ""
    for word in words:
        s += word.upper()
    return s

caption_first = convert(captionarr[0])
caption_second = convert(captionarr[1])
caption_third = convert(captionarr[2])

print(caption_first)
print(caption_second)
print(caption_third)


count = 0

for f in os.listdir('.'):
    try:
        # Checking for file types if jpg, png
        # or jpeg excluding other files
        if (ext(f) == '.jpg' or ext2(f) == '.jpeg' or ext3(f) == '.png'):
            img = Image.open(f)
            width, height = img.size
            basewidth = 1200
            # print(height)

            # Resizinng images to same width height
            wpercent = (basewidth / float(img.size[0]))
            hsize = int((float(img.size[1])*float(wpercent)))
            img = img.resize((basewidth, hsize), Image.ANTIALIAS)
            new_width, new_height = img.size


            # print(new_height)
            # changing image mode if not in RGB
            if not img.mode == 'RGB':
                img = img.convert('RGB')

            draw = ImageDraw.Draw(img)
            # font = ImageFont.truetype(<font-file>, <font-size>)
            # initializing which font will be chosen by us
            font = ImageFont.truetype("Arial Bold.ttf", 35)

             # First Caption on First image
            if count == 0:
                draw.text((new_width / 15 + 25, new_height - 100),
                           caption_first, (255, 0, 0), font = font,
                           align ="center")

            # Second Caption on Second image
            elif count == 1:
                draw.text((new_width / 15 + 25, new_height - 100),
                          caption_second, (255, 0, 0), font = font,
                          align ="center")

            # Third Caption on Third image
            else:
                draw.text(( new_width / 15 + 25, new_height - 100),
                            caption_third, (255, 0, 0), font = font,
                            align ="center")

            img.save("CaptionedImges/{}".format(f))
            print('done')
            count = count + 1

    except OSError:
        pass
Paso #3:
Ordenar los archivos de salida de acuerdo con la hora de la última modificación para que no se coloquen en orden alfabético o en cualquier otro orden mal administrado.
import os
import glob
import shutil

# changing directory to CaptionedImages
os.chdir(".\\CaptionedImges")

fnames = []
for file in os.listdir('.'):
    # appending files in directory to the frames arr
    fnames.append(file)

# sorting the files in frames array
# on the basis of last modified time
# reverse = True means ascending order sorting
fnames.sort(key = lambda x: os.stat(x).st_ctime, reverse = True)
Producción:

