En este artículo, veremos cómo podemos trazar datos con marcas de tiempo usando el módulo PyQtGraph en Python. PyQtGraph es una biblioteca de interfaz de usuario y gráficos para Python que proporciona la funcionalidad comúnmente requerida en el diseño y las aplicaciones científicas. Sus objetivos principales son proporcionar gráficos rápidos e interactivos para mostrar datos (gráficos, videos, etc.) y el segundo es proporcionar herramientas para ayudar en el desarrollo rápido de aplicaciones (por ejemplo, árboles de propiedades como los que se usan en Qt Designer).
Para instalar PyQtGraph, usamos el comando que se indica a continuación.
pip install pyqtgraph
Una marca de tiempo es una secuencia de caracteres o información codificada que identifica cuándo ocurrió un determinado evento, generalmente brinda la fecha y la hora del día, a veces con una precisión de una pequeña fracción de segundo. En este tutorial, veremos cómo podemos trazar marcas de tiempo en el eje x y el eje y tendrá los datos correspondientes.
Para ello tenemos que hacer lo siguiente
- Importe las bibliotecas requeridas como pyqtgraph, pyqt5, time y numpy
- Crea una clase de ventana principal usando pyqt5
- Cree una ventana de gráfico que tenga el elemento de eje establecido como DateAxisItem para las marcas de tiempo
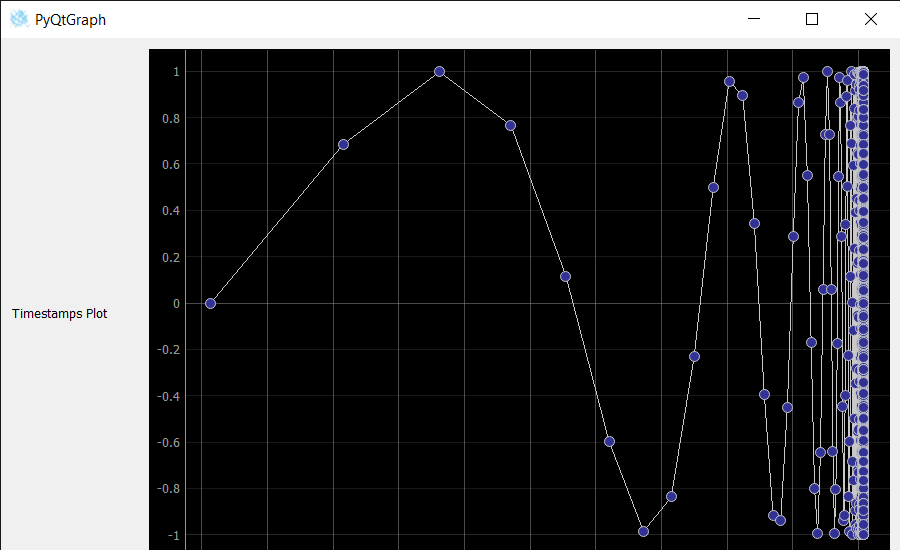
- Ahora cree datos para trazar en este ejemplo, trazaremos el sin(1/x^2) con marcas de tiempo en los últimos 100 años
- Con estos datos trazar el gráfico de líneas
- Agregue el gráfico y otros widgets al diseño del widget central de la ventana principal.
A continuación se muestra la implementación.
Python3
# importing Qt widgets
from PyQt5.QtWidgets import *

# importing system
import sys

# time module
import time
from datetime import datetime, timedelta

# importing numpy as np
import numpy as np

# importing pyqtgraph as pg
import pyqtgraph as pg
from PyQt5.QtGui import *
from PyQt5.QtCore import *


class Window(QMainWindow):

    def __init__(self):
        super().__init__()

        # setting title
        self.setWindowTitle("PyQtGraph")

        # setting geometry
        self.setGeometry(100, 100, 900, 550)

        # icon
        icon = QIcon("skin.png")

        # setting icon to the window
        self.setWindowIcon(icon)

        # calling method
        self.UiComponents()

        # showing all the widgets
        self.show()

    # method for components
    def UiComponents(self):

        # creating a widget object
        widget = QWidget()

        # text
        text = "Timestamps Plot"

        # creating a label
        label = QLabel(text)

        # setting minimum width
        label.setMinimumWidth(130)

        # making label do word wrap
        label.setWordWrap(True)

        # Create a plot with a date-time axis (timestamps on x-axis)
        w = pg.PlotWidget(axisItems={'bottom': pg.DateAxisItem()})

        # show the grids  on the graph
        w.showGrid(x=True, y=True)

        # Plotting sin(1/x^2) with timestamps in the last 100 years
        now = time.time()

        # x data
        x = np.linspace(2 * np.pi, 1000 * 2 * np.pi, 8301)

        # plot the data
        w.plot(now - (2 * np.pi / x) ** 2 * 100 *
               np.pi * 1e7, np.sin(x), symbol='o')

        # Creating a grid layout
        layout = QGridLayout()

        # minimum width value of the label
        label.setMinimumWidth(130)

        # setting this layout to the widget
        widget.setLayout(layout)

        # adding label in the layout
        layout.addWidget(label, 1, 0)

        # plot window goes on right side, spanning 3 rows
        layout.addWidget(w, 0, 1, 3, 1)

        # setting this widget as central widget of the main window
        self.setCentralWidget(widget)


# create pyqt5 app
App = QApplication(sys.argv)

# create the instance of our Window
window = Window()

# start the app
sys.exit(App.exec())
Producción :
Publicación traducida automáticamente
Artículo escrito por rakshitarora y traducido por Barcelona Geeks. The original can be accessed here. Licence: CCBY-SA