La aplicación de notas se usa para hacer notas de texto breves, actualizarlas cuando las necesite y eliminarlas cuando haya terminado. Se puede usar para varias funciones, ya que puede agregar su lista de tareas pendientes en esta aplicación, algunas notas importantes para referencia futura, etc. La aplicación es muy útil en algunos casos, como cuando desea acceder rápidamente a las notas. Del mismo modo, aquí vamos a crear una aplicación de Android para aprender cómo crear una NotesApp simple. Entonces, en este artículo, construyamos una aplicación de notas en la que el usuario pueda agregar cualquier dato, eliminar cualquier dato y editar cualquier dato . qué

Pasos para crear una aplicación de notas
Paso 1: Crear un nuevo proyecto
Para crear un nuevo proyecto en Android Studio, consulte Cómo crear/iniciar un nuevo proyecto en Android Studio . Tenga en cuenta que seleccione Java como lenguaje de programación.
Paso 2: trabajar con el archivo activity_main.xml
En el archivo activity_main.xml agregue ListView y TextView . ListView se agrega para mostrar la lista de notas guardadas automáticamente y TextView se usa para mostrar simplemente el texto GFG. A continuación se muestra el código completo para el archivo activity_main.xml .
XML
<?xml version="1.0" encoding="utf-8"?>
<androidx.constraintlayout.widget.ConstraintLayout
    xmlns:android="http://schemas.android.com/apk/res/android"
    xmlns:app="http://schemas.android.com/apk/res-auto"
    xmlns:tools="http://schemas.android.com/tools"
    android:layout_width="match_parent"
    android:layout_height="match_parent"
    tools:context=".MainActivity">

    <!--Adding a ListView -->
    <ListView
        android:id="@+id/listView"
        android:layout_width="409dp"
        android:layout_height="601dp"
        android:layout_marginTop="80dp"
        app:layout_constraintBottom_toBottomOf="parent"
        app:layout_constraintEnd_toEndOf="parent"
        app:layout_constraintStart_toStartOf="parent"
        app:layout_constraintTop_toTopOf="parent" />

    <!--Adding a TextView -->
    <TextView
        android:id="@+id/textView2"
        android:layout_width="0dp"
        android:layout_height="0dp"
        android:gravity="center_horizontal"
        android:text="GFG"
        android:textColor="@android:color/holo_green_dark"
        android:textSize="30sp"
        app:layout_constraintBottom_toTopOf="@+id/listView"
        app:layout_constraintEnd_toEndOf="parent"
        app:layout_constraintStart_toStartOf="parent"
        app:layout_constraintTop_toTopOf="parent" />

</androidx.constraintlayout.widget.ConstraintLayout>
Interfaz de usuario de salida:

Paso 3: Cree un nuevo diseño para mostrar el menú
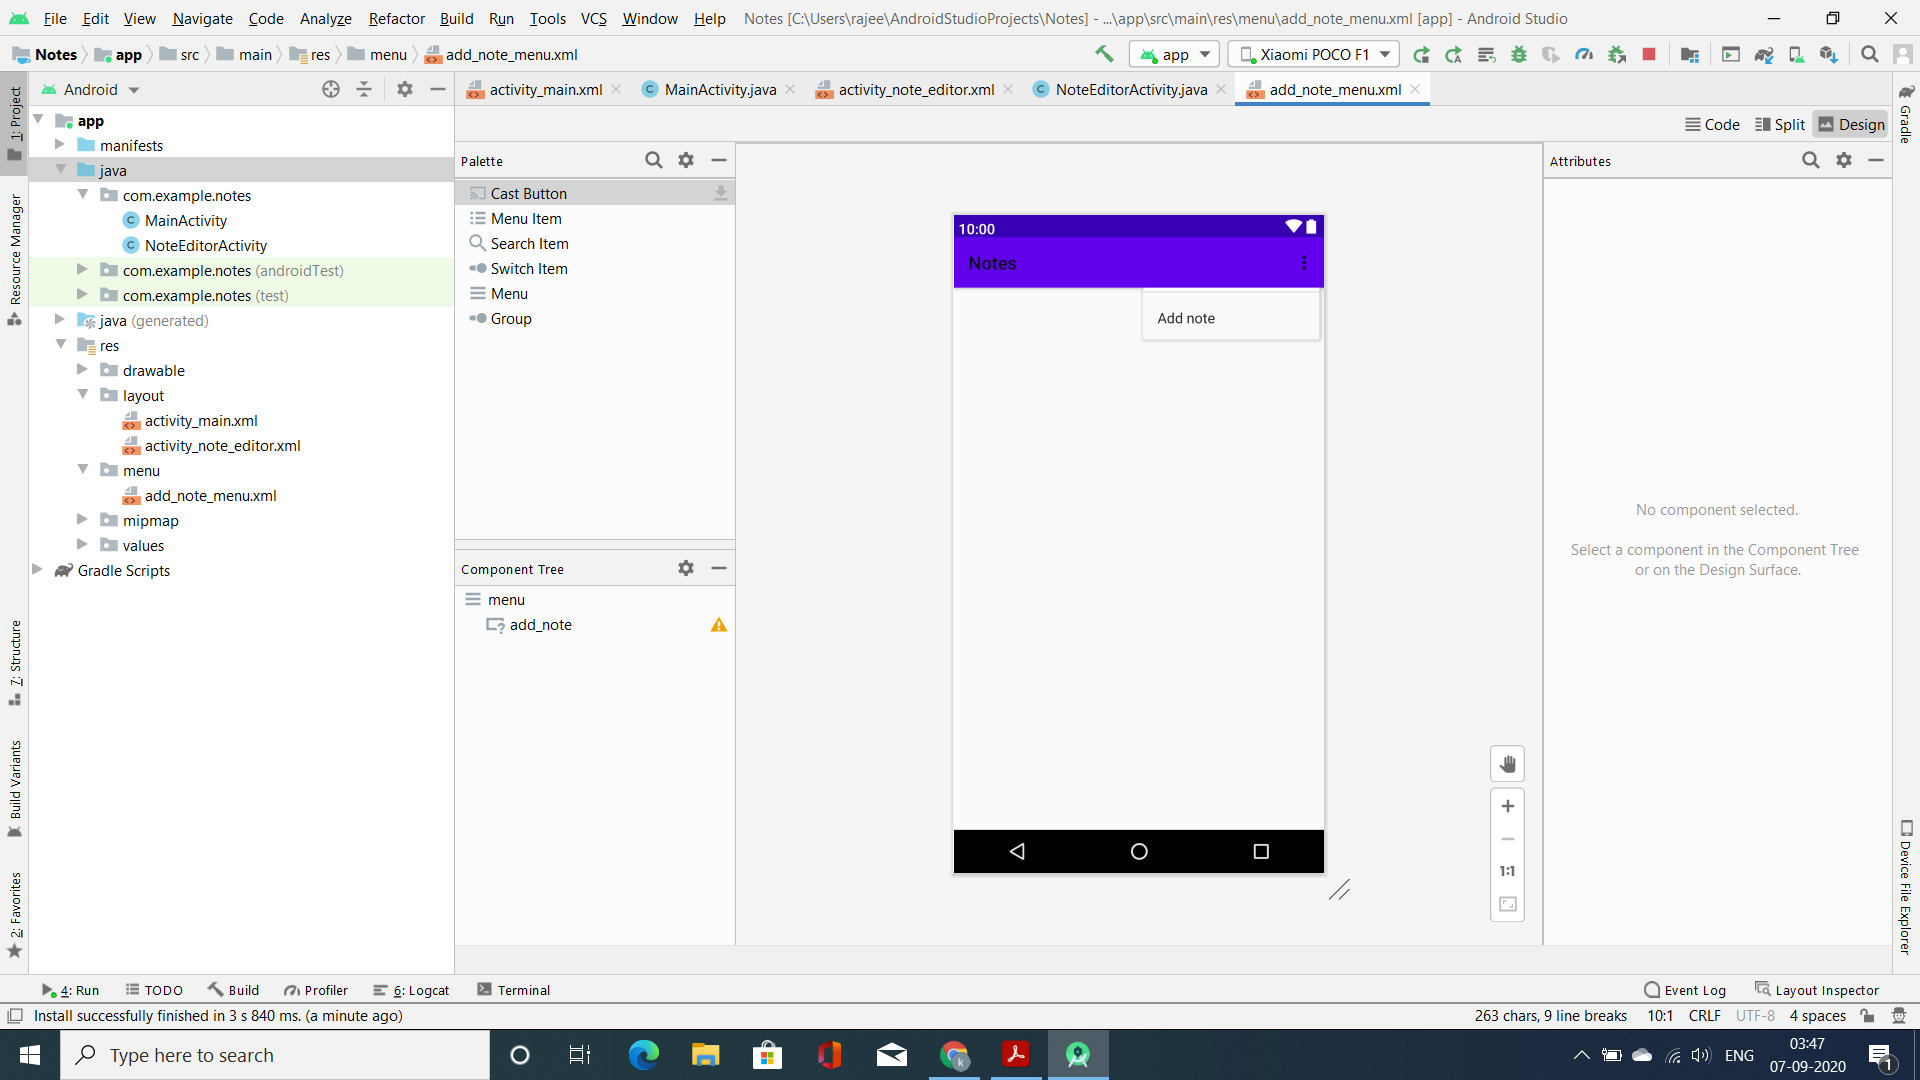
Vaya a app > res > haga clic con el botón derecho en > New > Directory y asígnele el nombre menu . Luego haga clic en app > res > menu > New > Menu resource file y nombre el archivo como add_note_menu . A continuación se muestra el código para el archivo add_note_menu.xml .
XML
<?xml version="1.0" encoding="utf-8"?>
<!--Adding Menu to show the function to
    User to delete and edit the data-->
<menu xmlns:android="http://schemas.android.com/apk/res/android">

    <item android:id="@+id/add_note" android:title="Add note"></item>

</menu>
Paso 4: crea una nueva actividad vacía
- Vaya a aplicación > Java > haga clic con el botón derecho en > Nuevo > Actividad > Actividad vacía y asígnele el nombre NoteEditorActivity . En esta actividad, vamos a escribir nuestras notas. Entonces, en el archivo activity_note_editor.xml, agregue un EditText para agregar datos a ListView. A continuación se muestra el código para el archivo activity_note_editor.xml .
XML
<?xml version="1.0" encoding="utf-8"?>
<androidx.constraintlayout.widget.ConstraintLayout
    xmlns:android="http://schemas.android.com/apk/res/android"
    xmlns:app="http://schemas.android.com/apk/res-auto"
    xmlns:tools="http://schemas.android.com/tools"
    android:layout_width="match_parent"
    android:layout_height="match_parent"
    tools:context=".NoteEditorActivity">

    <!--Adding Edit Text To add data to List View-->
    <EditText
        android:id="@+id/editText"
        android:layout_width="0dp"
        android:layout_height="0dp"
        android:ems="10"
        android:gravity="top|left"
        android:inputType="textMultiLine"
        app:layout_constraintBottom_toBottomOf="parent"
        app:layout_constraintEnd_toEndOf="parent"
        app:layout_constraintStart_toStartOf="parent"
        app:layout_constraintTop_toTopOf="parent" />

</androidx.constraintlayout.widget.ConstraintLayout>
- Ahora, en el archivo NoteEditorActivity.java , escriba el código para almacenar datos. Agregue SharedPreference a la aplicación para almacenar los datos en la memoria del teléfono. Configuración de valores en SharedPreference:
SharedPreferences.Editor editor = getSharedPreferences(MY_PREFS_NAME, MODE_PRIVATE).edit();
editor.putString(“nombre”, “Elena”);
editor.putInt(“idNombre”, 12);
editor.aplicar();
- Recuperar datos de SharedPreference:
preferencias de SharedPreferences = getSharedPreferences(MY_PREFS_NAME, MODE_PRIVATE);
// Ningún nombre definido es el valor predeterminado.
String nombre = prefs.getString(“nombre”, “No hay nombre definido”);
// 0 es el valor predeterminado.
int idNombre = prefs.getInt(“idNombre”, 0);
- A continuación se muestra el código completo del archivo NoteEditorActivity.java . Se agregan comentarios dentro del código para comprender el código con más detalle.
Java
import android.content.Context;
import android.content.Intent;
import android.content.SharedPreferences;
import android.os.Bundle;
import android.text.Editable;
import android.text.TextWatcher;
import android.widget.EditText;
import androidx.appcompat.app.AppCompatActivity;
import java.util.HashSet;

public class NoteEditorActivity extends AppCompatActivity {
    int noteId;

    @Override
    protected void onCreate(Bundle savedInstanceState) {
        super.onCreate(savedInstanceState);
        setContentView(R.layout.activity_note_editor);

        EditText editText = findViewById(R.id.editText);

        // Fetch data that is passed from MainActivity
        Intent intent = getIntent();

        // Accessing the data using key and value
        noteId = intent.getIntExtra("noteId", -1);
        if (noteId != -1) {
            editText.setText(MainActivity.notes.get(noteId));
        } else {

            MainActivity.notes.add("");
            noteId = MainActivity.notes.size() - 1;
            MainActivity.arrayAdapter.notifyDataSetChanged();

        }

        editText.addTextChangedListener(new TextWatcher() {
            @Override
            public void beforeTextChanged(CharSequence charSequence, int i, int i1, int i2) {
                // add your code here
            }

            @Override
            public void onTextChanged(CharSequence charSequence, int i, int i1, int i2) {
                MainActivity.notes.set(noteId, String.valueOf(charSequence));
                MainActivity.arrayAdapter.notifyDataSetChanged();
                // Creating Object of SharedPreferences to store data in the phone
                SharedPreferences sharedPreferences = getApplicationContext().getSharedPreferences("com.example.notes", Context.MODE_PRIVATE);
                HashSet<String> set = new HashSet(MainActivity.notes);
                sharedPreferences.edit().putStringSet("notes", set).apply();
            }

            @Override
            public void afterTextChanged(Editable editable) {
                // add your code here
            }
        });
    }
}
Paso 5: trabajar con el archivo MainAtivity.java
Ahora configure todas las cosas en el archivo MainActivity.java . Llamando al código NoteEditorActivity.java , una todo el código XML a java y ejecute la aplicación. A continuación se muestra el código completo del archivo MainActivity.java . Se agregan comentarios dentro del código para comprender el código con más detalle.
Java
import android.content.Context;
import android.content.DialogInterface;
import android.content.Intent;
import android.content.SharedPreferences;
import android.os.Bundle;
import android.view.Menu;
import android.view.MenuInflater;
import android.view.MenuItem;
import android.view.View;
import android.widget.AdapterView;
import android.widget.ArrayAdapter;
import android.widget.ListView;
import androidx.annotation.NonNull;
import androidx.appcompat.app.AlertDialog;
import androidx.appcompat.app.AppCompatActivity;
import java.util.ArrayList;
import java.util.HashSet;

public class MainActivity extends AppCompatActivity {

    static ArrayList<String> notes = new ArrayList<>();
    static ArrayAdapter arrayAdapter;

    @Override
    public boolean onCreateOptionsMenu(Menu menu) {

        MenuInflater menuInflater = getMenuInflater();
        menuInflater.inflate(R.menu.add_note_menu, menu);

        return super.onCreateOptionsMenu(menu);
    }

    @Override
    public boolean onOptionsItemSelected(@NonNull MenuItem item) {
        super.onOptionsItemSelected(item);

        if (item.getItemId() == R.id.add_note) {

            // Going from MainActivity to NotesEditorActivity
            Intent intent = new Intent(getApplicationContext(), NoteEditorActivity.class);
            startActivity(intent);
            return true;
        }

        return false;
    }

    @Override
    protected void onCreate(Bundle savedInstanceState) {
        super.onCreate(savedInstanceState);
        setContentView(R.layout.activity_main);

        ListView listView = findViewById(R.id.listView);
        SharedPreferences sharedPreferences = getApplicationContext().getSharedPreferences("com.example.notes", Context.MODE_PRIVATE);
        HashSet<String> set = (HashSet<String>) sharedPreferences.getStringSet("notes", null);

        if (set == null) {

            notes.add("Example note");
        } else {
            notes = new ArrayList(set);
        }

        // Using custom listView Provided by Android Studio
        arrayAdapter = new ArrayAdapter(this, android.R.layout.simple_expandable_list_item_1, notes);

        listView.setAdapter(arrayAdapter);

        listView.setOnItemClickListener(new AdapterView.OnItemClickListener() {
            @Override
            public void onItemClick(AdapterView<?> adapterView, View view, int i, long l) {

                // Going from MainActivity to NotesEditorActivity
                Intent intent = new Intent(getApplicationContext(), NoteEditorActivity.class);
                intent.putExtra("noteId", i);
                startActivity(intent);

            }
        });

        listView.setOnItemLongClickListener(new AdapterView.OnItemLongClickListener() {
            @Override
            public boolean onItemLongClick(AdapterView<?> adapterView, View view, int i, long l) {

                final int itemToDelete = i;
                // To delete the data from the App
                new AlertDialog.Builder(MainActivity.this)
                        .setIcon(android.R.drawable.ic_dialog_alert)
                        .setTitle("Are you sure?")
                        .setMessage("Do you want to delete this note?")
                        .setPositiveButton("Yes", new DialogInterface.OnClickListener() {
                            @Override
                            public void onClick(DialogInterface dialogInterface, int i) {
                                notes.remove(itemToDelete);
                                arrayAdapter.notifyDataSetChanged();
                                SharedPreferences sharedPreferences = getApplicationContext().getSharedPreferences("com.example.notes", Context.MODE_PRIVATE);
                                HashSet<String> set = new HashSet(MainActivity.notes);
                                sharedPreferences.edit().putStringSet("notes", set).apply();
                            }
                        }).setNegativeButton("No", null).show();
                return true;
            }
        });
    }
}
Salida: ejecutar en el emulador
Publicación traducida automáticamente
Artículo escrito por kartiksrivastava6 y traducido por Barcelona Geeks. The original can be accessed here. Licence: CCBY-SA