Requisitos previos: ¿Cómo crear una pantalla de bienvenida en Android usando Kotlin?
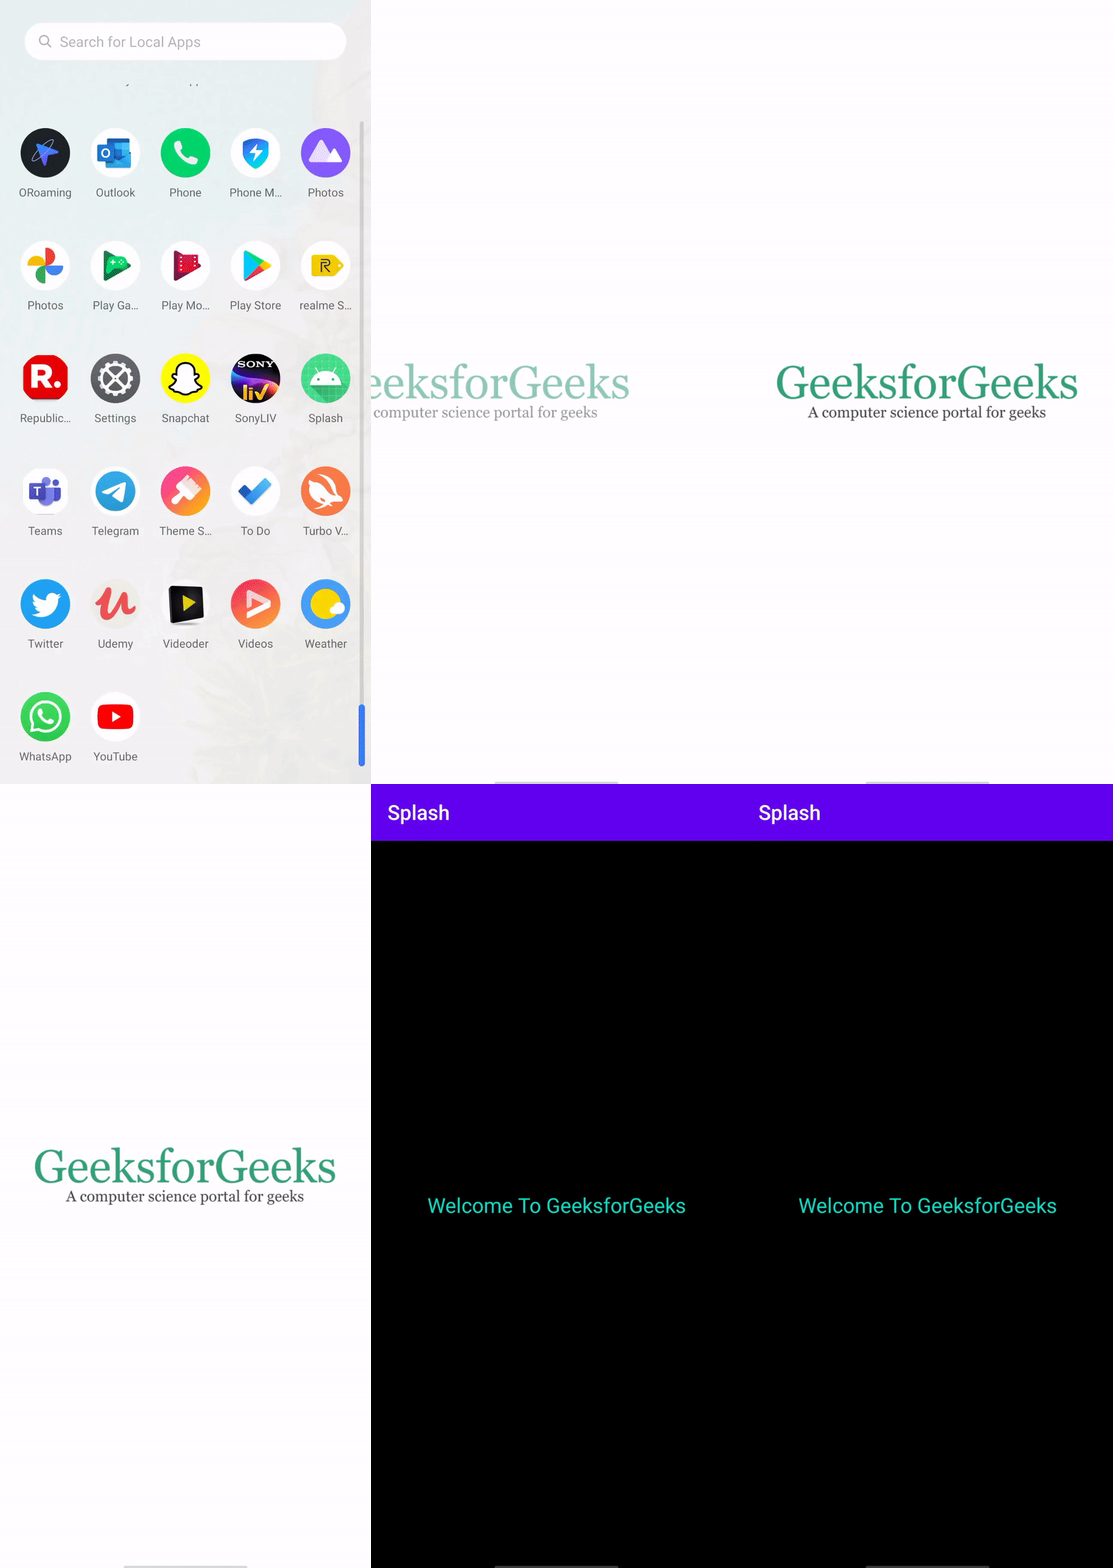
En este artículo, crearemos una pantalla de presentación animada usando Kotlin .

Pasos para crear una pantalla de bienvenida animada
Paso 1: crear un nuevo proyecto
Para crear un nuevo proyecto en Android Studio, consulte Cómo crear/iniciar un nuevo proyecto en Android Studio . Tenga en cuenta que seleccione Kotlin como lenguaje de programación.
Paso 2: crea un archivo de animación
Para crear un archivo de animación en el estudio de Android, siga cuidadosamente las instrucciones proporcionadas. Vaya a la aplicación > res > haga clic con el botón derecho en > Nuevo > Directorio de recursos de Android .

Luego nombre el nombre del directorio como anim . Y luego haga clic en Aceptar .

Vaya al anim> haga clic con el botón derecho> Nuevo> Archivo de recursos de animación

Y nombre el nombre del archivo como side_slide y haga clic en Aceptar .

Ahora agregue este código al archivo XML animado. side_slide.xml
XML
<?xml version="1.0" encoding="utf-8"?>
<set
    xmlns:android="http://schemas.android.com/apk/res/android">

    <!--THIS CODE IS FOR SIDE ANIMATION-->
    <translate
        android:duration="1500"
        android:fromXDelta="-50%"
        android:fromYDelta="0%" />

    <alpha
        android:duration="1500"
        android:fromAlpha="0.1"
        android:toAlpha="1.0" />
</set>
Paso 3: Crea otra actividad
Vaya a aplicación > java > nombre del primer paquete > haga clic con el botón derecho en > Nuevo > Actividad > Actividad vacía y cree otra actividad y llámela SplashScreen . Edite el archivo activity_splash_screen.xml y agregue una imagen y texto en la pantalla de inicio según el requisito. Aquí estamos agregando una imagen a la pantalla de bienvenida. actividad_splash_pantalla.xml
XML
<?xml version="1.0" encoding="utf-8"?>
<androidx.constraintlayout.widget.ConstraintLayout
    xmlns:android="http://schemas.android.com/apk/res/android"
    xmlns:app="http://schemas.android.com/apk/res-auto"
    xmlns:tools="http://schemas.android.com/tools"
    android:layout_width="match_parent"
    android:layout_height="match_parent"
    android:background="#fff"
    tools:context=".SplashScreen">

    <!--THIS IS IMAGEVIEW FOR OUR IMAGE IN SPLASH SCREEN-->
    <!--YOU CAN ADD YOUR IMAGE TO DRAWABLES.
        HERE geeksforgeeks IS THE NAME OF IMAGE-->
    <ImageView
        android:id="@+id/SplashScreenImage"
        android:layout_width="300dp"
        android:layout_height="200dp"
        android:src="@drawable/geeksforgeeks"
        app:layout_constraintBottom_toBottomOf="parent"
        app:layout_constraintLeft_toLeftOf="parent"
        app:layout_constraintRight_toRightOf="parent"
        app:layout_constraintTop_toTopOf="parent" />

</androidx.constraintlayout.widget.ConstraintLayout>
Pantalla de bienvenida.kt Pantalla de bienvenida.kt
Kotlin
import android.content.Intent
import android.os.Bundle
import android.os.Handler
import android.view.WindowManager
import android.view.animation.AnimationUtils
import android.widget.ImageView
import androidx.appcompat.app.AppCompatActivity

@Suppress("DEPRECATION")
class SplashScreen : AppCompatActivity() {
    override fun onCreate(savedInstanceState: Bundle?) {
        super.onCreate(savedInstanceState)
        setContentView(R.layout.activity_splash_screen)

        // This is used to hide the status bar and make
        // the splash screen as a full screen activity.
        window.setFlags(
            WindowManager.LayoutParams.FLAG_FULLSCREEN,
            WindowManager.LayoutParams.FLAG_FULLSCREEN
        )

        // HERE WE ARE TAKING THE REFERENCE OF OUR IMAGE
        // SO THAT WE CAN PERFORM ANIMATION USING THAT IMAGE
        val backgroundImage: ImageView = findViewById(R.id.SplashScreenImage)
        val slideAnimation = AnimationUtils.loadAnimation(this, R.anim.side_slide)
        backgroundImage.startAnimation(slideAnimation)

        // we used the postDelayed(Runnable, time) method
        // to send a message with a delayed time.
        Handler().postDelayed({
            val intent = Intent(this, MainActivity::class.java)
            startActivity(intent)
            finish()
        }, 3000) // 3000 is the delayed time in milliseconds.
    }
}
Paso 4: trabajar con el archivo AndroidManifest.xml
Vaya al archivo AndroidManifest.xml y agregue el siguiente código en la actividad de la pantalla de bienvenida. Esto se usa para ocultar la barra de estado o la barra de acción.
android:tema=”@estilo/Tema.AppCompat.Light.NoActionBar”
Además, agregue <intent-filter> dentro de la actividad de la pantalla de bienvenida para que esta actividad sea la actividad inicial. Entonces, siempre que la aplicación se ejecute, el usuario puede ver la pantalla de inicio al principio. AndroidManifest.xml
XML
<?xml version="1.0" encoding="utf-8"?>
<manifest xmlns:android="http://schemas.android.com/apk/res/android"
    package="com.example.animatedsplashscreen">

    <application
        android:allowBackup="true"
        android:icon="@mipmap/ic_launcher"
        android:label="@string/app_name"
        android:roundIcon="@mipmap/ic_launcher_round"
        android:supportsRtl="true"
        android:theme="@style/AppTheme">
        <activity android:name=".MainActivity"></activity>
        <activity
            android:name=".SplashScreen"
            android:theme="@style/Theme.AppCompat.Light.NoActionBar">
            <intent-filter>
                <action android:name="android.intent.action.MAIN" />

                <category android:name="android.intent.category.LAUNCHER" />
            </intent-filter>
        </activity>
    </application>

</manifest>
Paso 5: trabajar con el archivo activity_main.xml
Vaya al archivo activity_main.xml y agregue un texto que muestre «Bienvenido a GeeksforGeeks» cuando el usuario ingrese a MainActivity. actividad_principal.xml
XML
<?xml version="1.0" encoding="utf-8"?>
<androidx.constraintlayout.widget.ConstraintLayout
    xmlns:android="http://schemas.android.com/apk/res/android"
    xmlns:app="http://schemas.android.com/apk/res-auto"
    xmlns:tools="http://schemas.android.com/tools"
    android:layout_width="match_parent"
    android:layout_height="match_parent"
    android:background="#000"
    tools:context=".MainActivity">

    <!-- THIS IS SIMPLE TEXTVIEW-->
    <TextView
        android:layout_width="wrap_content"
        android:layout_height="wrap_content"
        android:text="Welcome To GeeksforGeeks"
        android:textColor="@color/colorAccent"
        android:textSize="20dp"
        app:layout_constraintBottom_toBottomOf="parent"
        app:layout_constraintLeft_toLeftOf="parent"
        app:layout_constraintRight_toRightOf="parent"
        app:layout_constraintTop_toTopOf="parent" />

</androidx.constraintlayout.widget.ConstraintLayout>
Paso 6: trabajar con el archivo MainActivity.kt
No haga nada en el archivo MainActivity.kt porque ya creamos una nueva actividad para la pantalla de bienvenida. MainActivity.kt
Kotlin
import androidx.appcompat.app.AppCompatActivity
import android.os.Bundle
import android.widget.Toast

class MainActivity : AppCompatActivity() {
    override fun onCreate(savedInstanceState: Bundle?) {
        super.onCreate(savedInstanceState)
        setContentView(R.layout.activity_main)
    }
}
Producción
Encuentra este proyecto en Github: https://github.com/Gauravverma245/AnimatedSplashScreen
Publicación traducida automáticamente
Artículo escrito por gaurav__verma y traducido por Barcelona Geeks. The original can be accessed here. Licence: CCBY-SA