En este artículo, vamos a ver cómo descargar Google Image usando Python y Selenium.
Instalación
En la terminal de tu PC, escribe el siguiente comando.
pip install selenium
También necesitamos instalar un controlador web que nos ayudará a ejecutar automáticamente el navegador web. Puede instalar el controlador web de Firefox, el controlador web de Internet Explorer o el controlador web de Chrome. En este artículo, usaremos Chrome Web Driver.
El script de automatización interactúa con la página web al encontrar los elementos que especificamos. Hay varias formas de encontrar los elementos en una página web. La forma más sencilla es seleccionar la etiqueta HTML del elemento deseado y copiar su XPath. Para hacer esto, simplemente haga clic derecho en la página web, haga clic en «Inspeccionar» y copie el XPath del elemento deseado. También puede usar el nombre o CSS del elemento si lo desea.
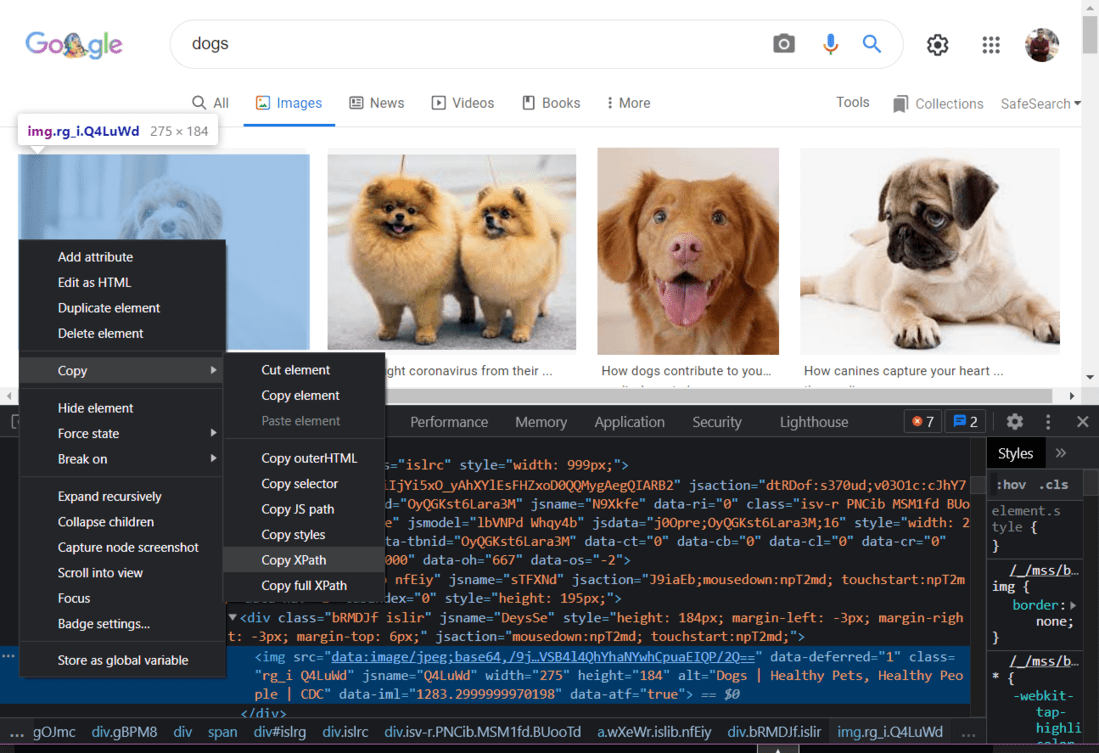
HTML del resultado de Google Images
A continuación se muestra la implementación:
Python3
from selenium import webdriver
from selenium.webdriver.common.keys import Keys
import time

# What you enter here will be searched for in
# Google Images
query = "dogs"

# Creating a webdriver instance
driver = webdriver.Chrome('Enter-Location-Of-Your-Webdriver')

# Maximize the screen
driver.maximize_window()

# Open Google Images in the browser
driver.get('https://images.google.com/')

# Finding the search box
box = driver.find_element_by_xpath('//*[@id="sbtc"]/div/div[2]/input')

# Type the search query in the search box
box.send_keys(query)

# Pressing enter
box.send_keys(Keys.ENTER)

# Function for scrolling to the bottom of Google
# Images results
def scroll_to_bottom():

    last_height = driver.execute_script('\
    return document.body.scrollHeight')

    while True:
        driver.execute_script('\
        window.scrollTo(0,document.body.scrollHeight)')

        # waiting for the results to load
        # Increase the sleep time if your internet is slow
        time.sleep(3)

        new_height = driver.execute_script('\
        return document.body.scrollHeight')

        # click on "Show more results" (if exists)
        try:
            driver.find_element_by_css_selector(".YstHxe input").click()

            # waiting for the results to load
            # Increase the sleep time if your internet is slow
            time.sleep(3)

        except:
            pass

        # checking if we have reached the bottom of the page
        if new_height == last_height:
            break

        last_height = new_height


# Calling the function

# NOTE: If you only want to capture a few images,
# there is no need to use the scroll_to_bottom() function.
scroll_to_bottom()


# Loop to capture and save each image
for i in range(1, 50):

    # range(1, 50) will capture images 1 to 49 of the search results
    # You can change the range as per your need.
    try:

      # XPath of each image
        img = driver.find_element_by_xpath(
            '//*[@id="islrg"]/div[1]/div[' +
          str(i) + ']/a[1]/div[1]/img')

        # Enter the location of folder in which
        # the images will be saved
        img.screenshot('Download-Location' +
                       query + ' (' + str(i) + ').png')
        # Each new screenshot will automatically
        # have its name updated

        # Just to avoid unwanted errors
        time.sleep(0.2)

    except:

        # if we can't find the XPath of an image,
        # we skip to the next image
        continue

# Finally, we close the driver
driver.close()
Resultado:
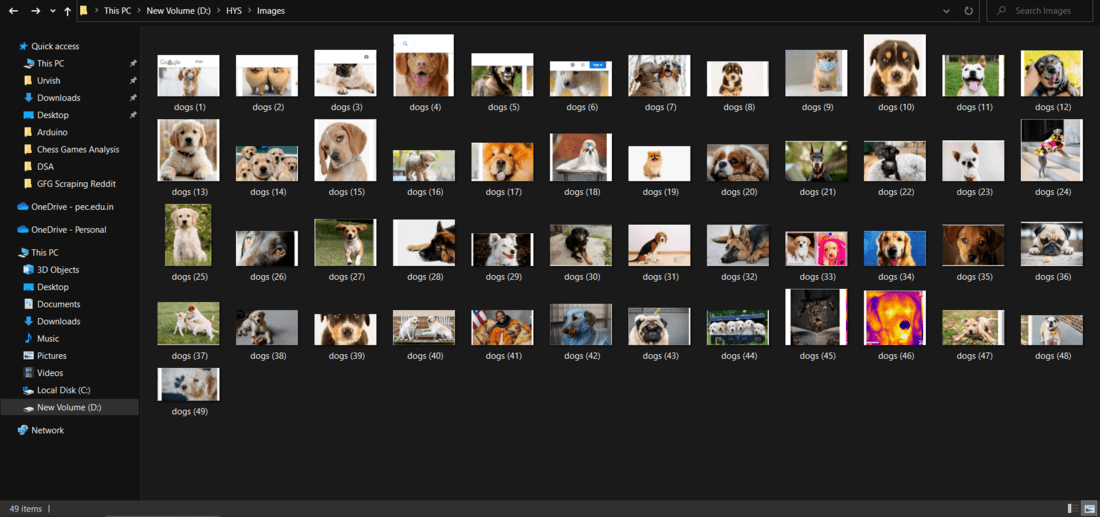
Imágenes capturadas
Bueno, esta es la forma más sencilla de crear un script de automatización. Este pequeño programa puede ser tu pequeño y divertido proyecto. Este podría ser el punto de partida de su viaje con Selenium. Puede usar Selenium para hacer cosas diferentes, como extraer noticias de Google News. Así que mantén tu mente abierta a nuevas ideas y podrías terminar creando un gran proyecto con Selenium y Python.
Publicación traducida automáticamente
Artículo escrito por urvishmahajan y traducido por Barcelona Geeks. The original can be accessed here. Licence: CCBY-SA